Managing Inventory Locations
In this article
Inventories are the storage areas you create in EasyBiz. They can represent a storeroom, warehouse, outlet storage area, or factory storage area. Each inventory can have a colour so it is easier to recognise in the list. After opening an inventory, you can add Storage Sections — smaller named areas like shelves, racks, or bins — so your team knows exactly where each item belongs.
Contents
Contents
Before You Start
Prepare a simple list of the storage areas your team already uses. Keep names short and familiar, such as HQ Storage, Outlet Storage, or Workshop Storage. If you want to add sections later, decide the section codes first, such as R1, R2, or B1.
How to Find Inventories
- Click the ⚙️ Settings icon in the top-right corner.
- Under the Operations section, click Locations.
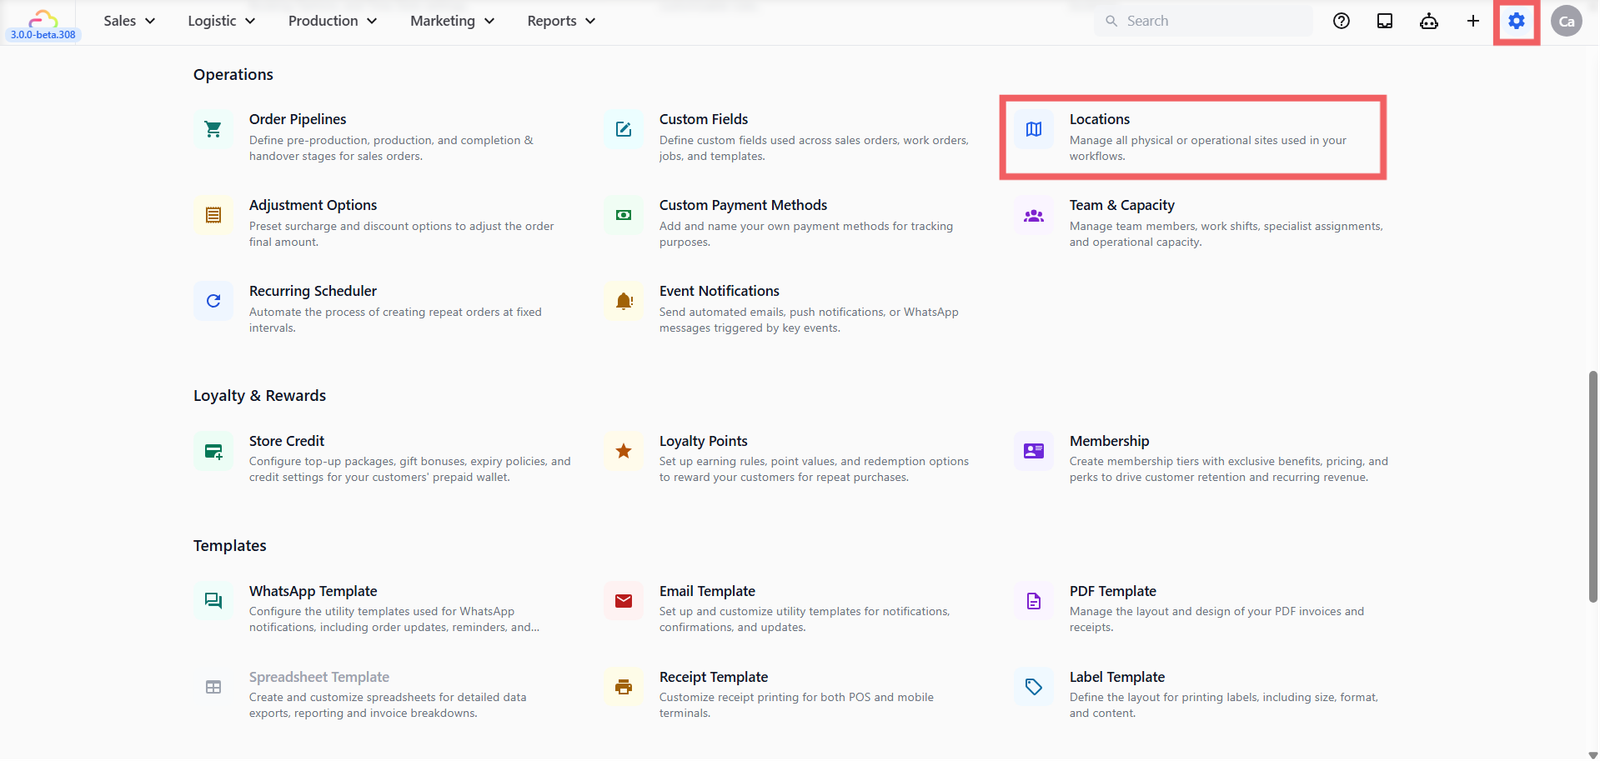
- Click the Inventories tab.

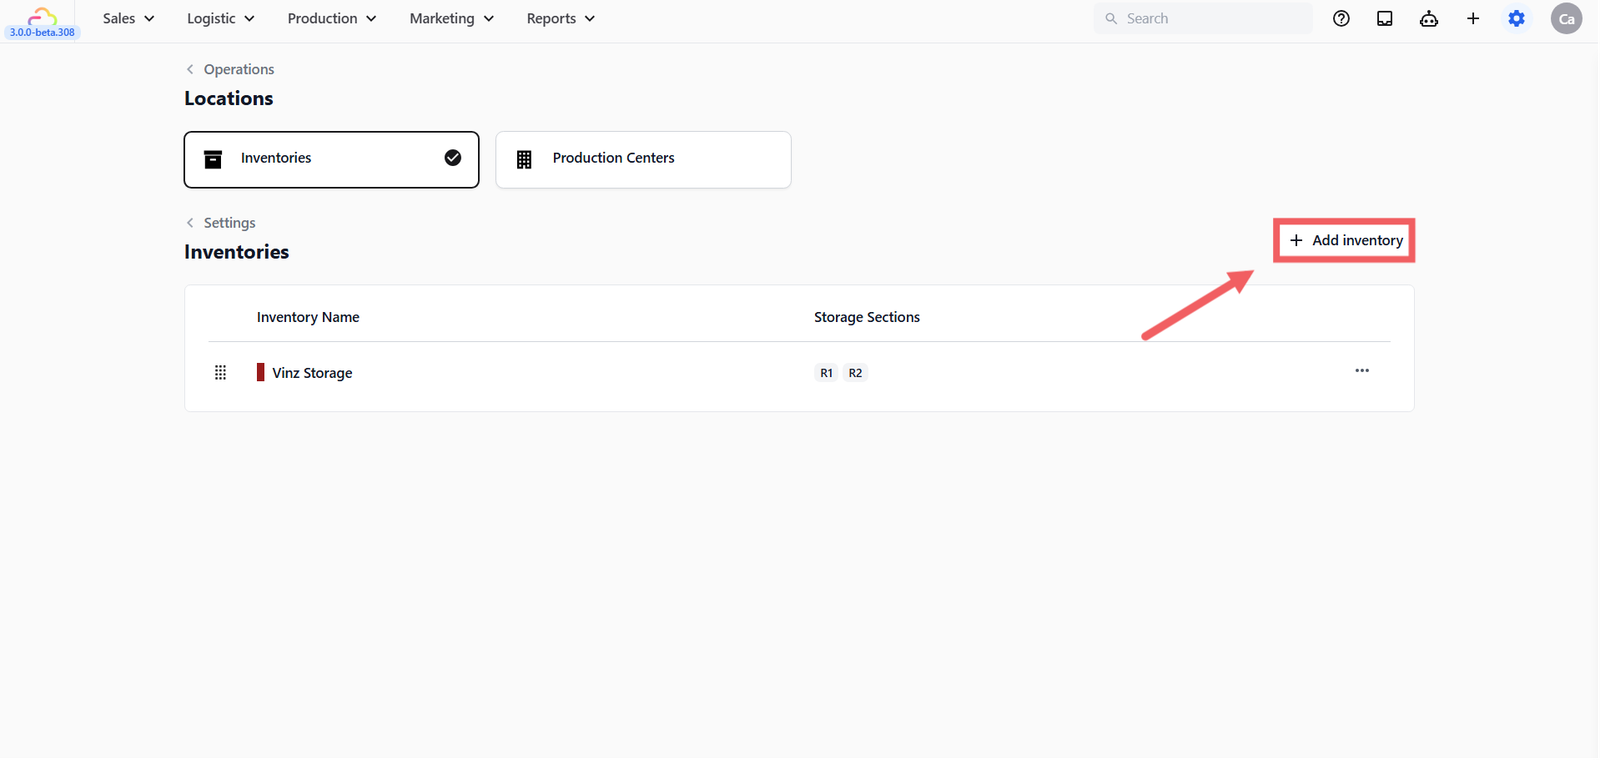
How to Add an Inventory
- Click + Add inventory.
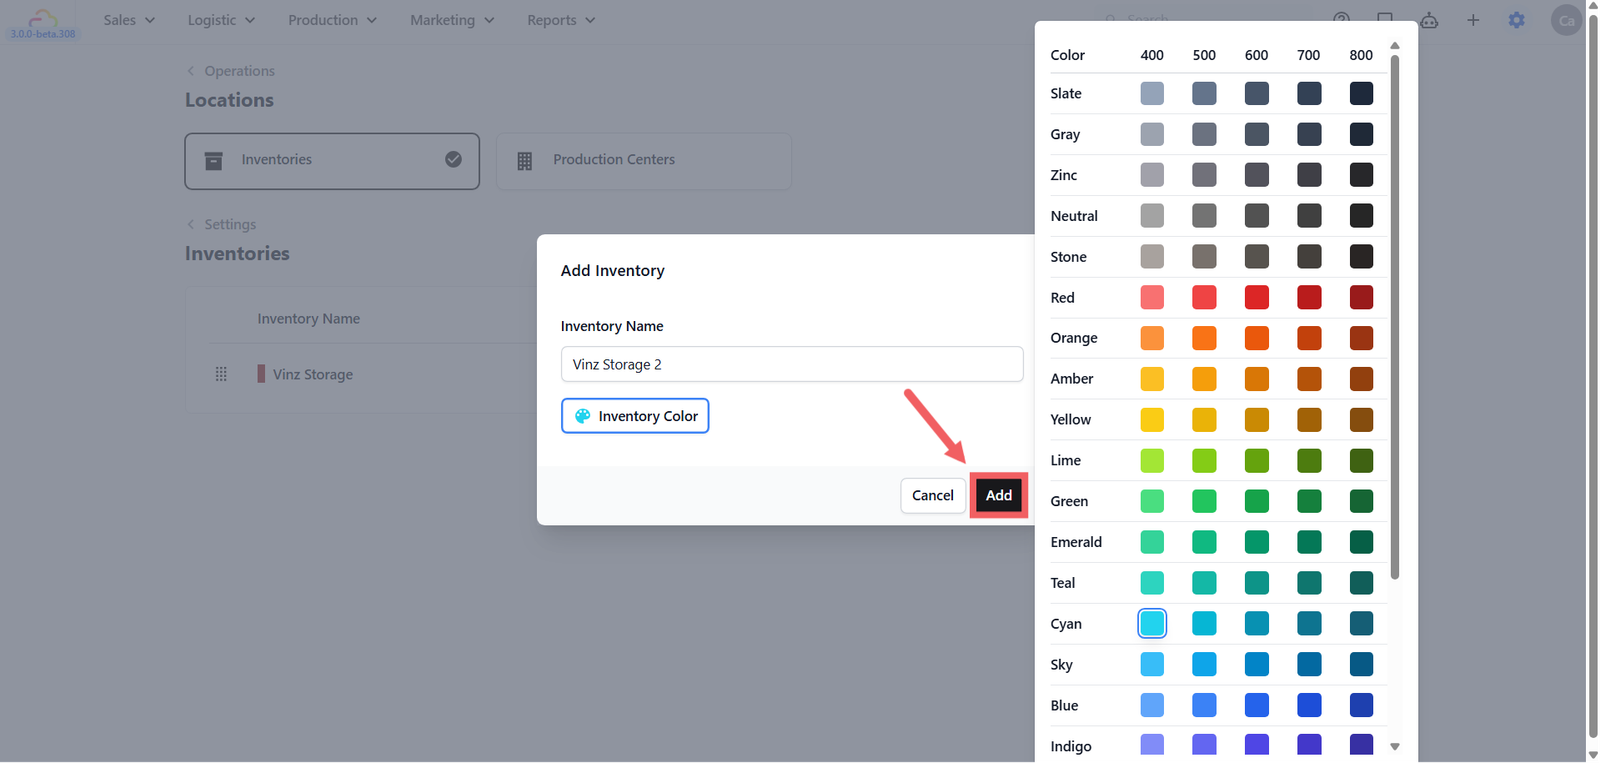
- Enter an Inventory Name — use something short and familiar that your team already uses, for example HQ Storage, Outlet 1, or Workshop Storage.
- Optionally pick an Inventory Color — this is just for identification so your team can recognise it easily in the list.
- Click Add.
Configuring the Inventory Profile
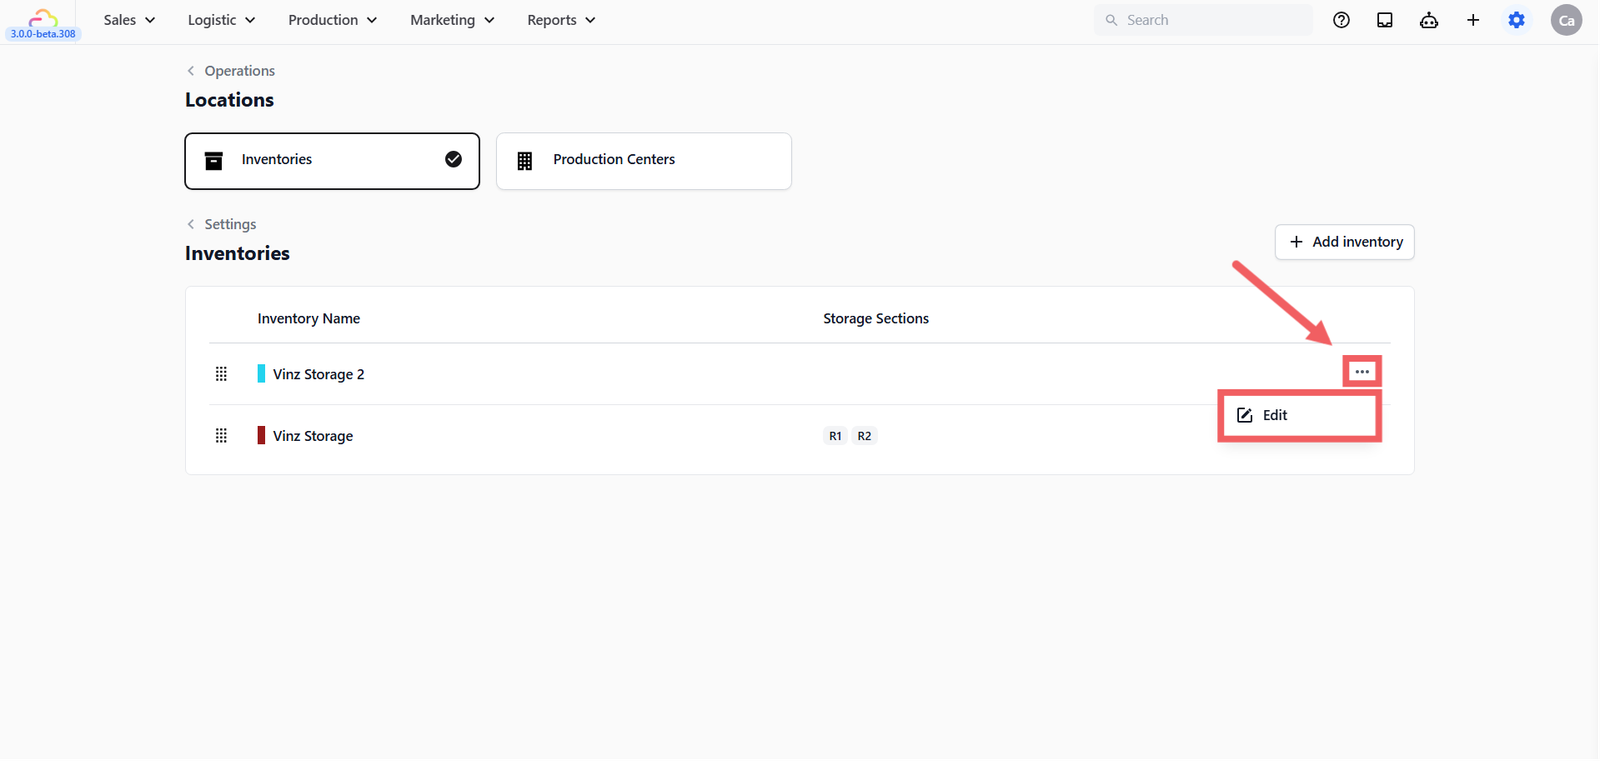
After adding an inventory, click the ... three-dot menu on that inventory row in the Inventories list and click Edit to open its profile. The profile has two sections.
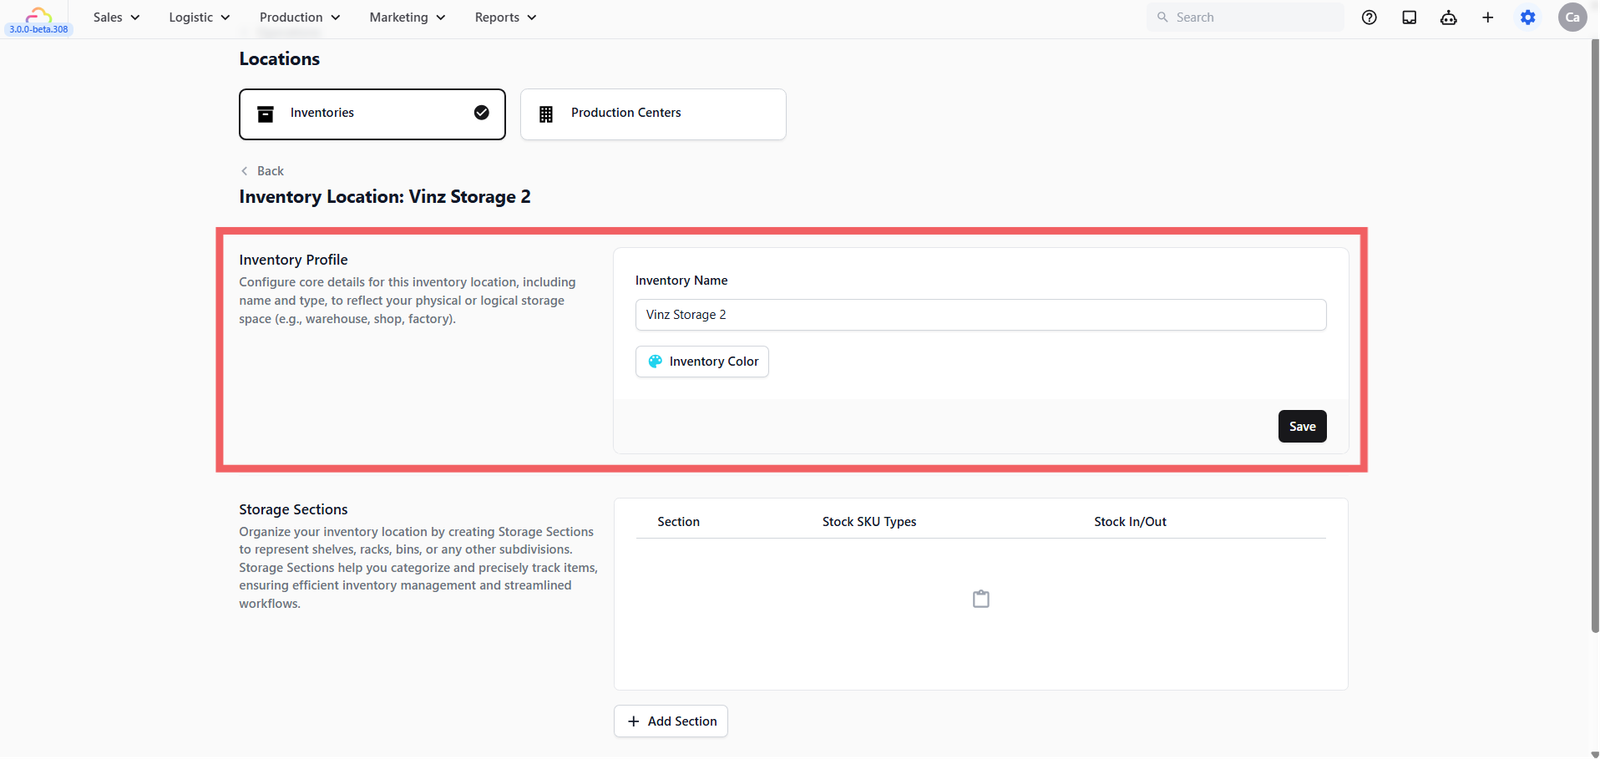
Inventory Profile
This is where you update the name and colour you set when you first added the inventory if you require any changes. Click Save.
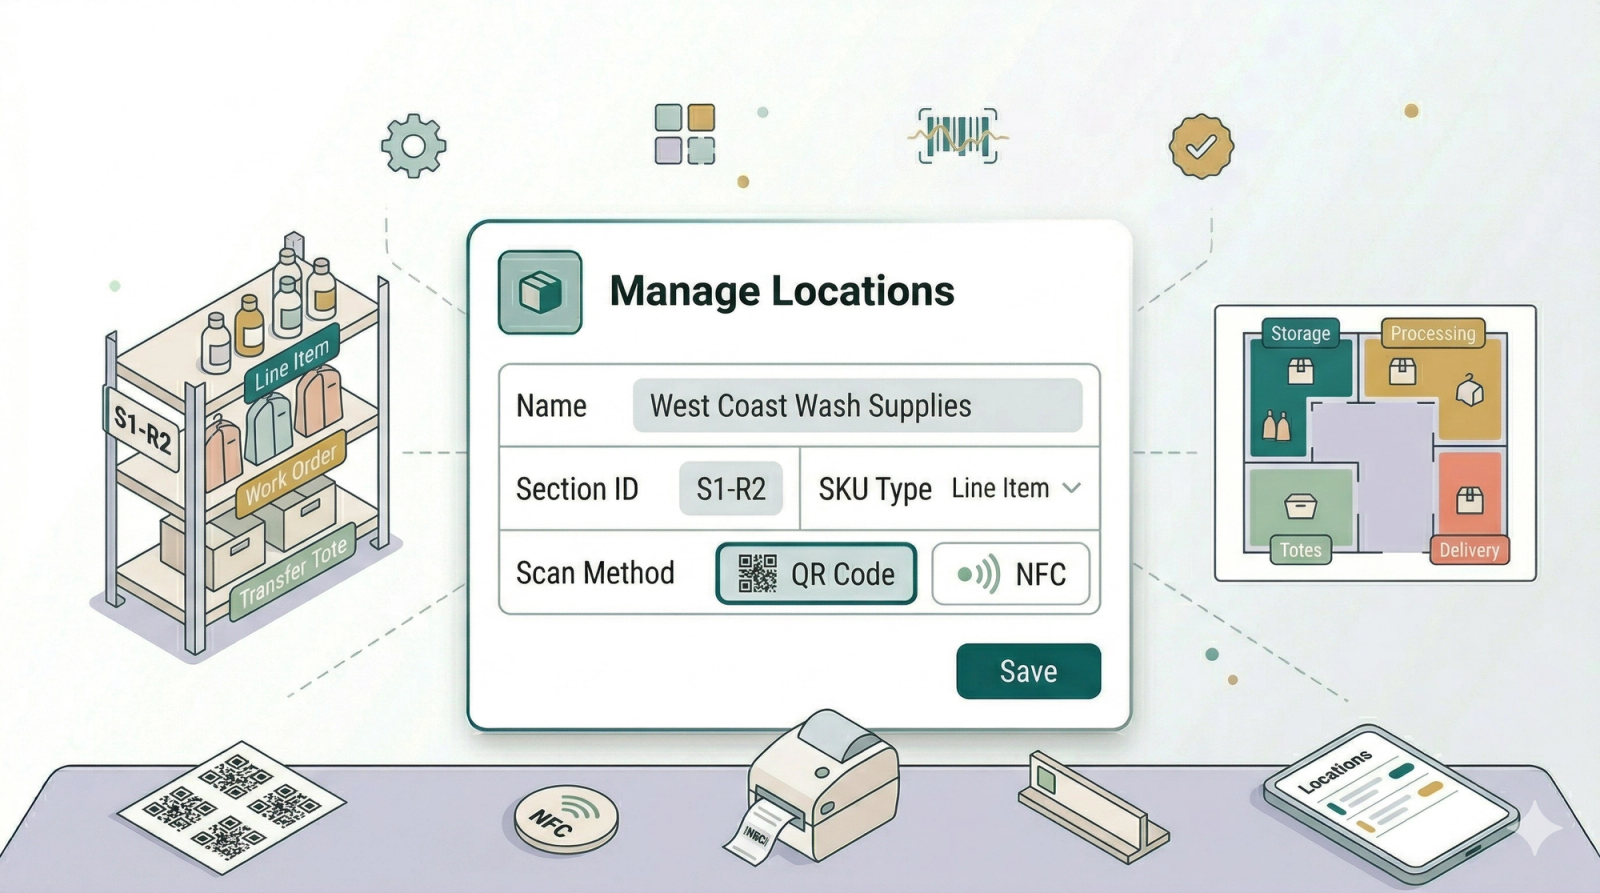
Storage Sections
Storage Sections divide your inventory into smaller named areas — like individual shelves, racks, or bins — so your team can precisely track where each item sits. Click + Add Section to create a new section.

Each section you add has three fields:
- Section -> Enter a short code your staff will recognise, such as R1, R2, Shelf A, or Bin 1.
- Stock SKU Types -> Stock SKU Types define what kind of items are stored in that section. This helps the system know what to expect when staff scan items in or out.
| Pick this | What it means | Result |
|---|---|---|
| Sales Order | A customer order created at the counter or online | Store whole customer orders in this section |
| Work Order | A task created for each item during production. See [Setting Up Work Orders] (Coming Soon) | Store work orders being processed in this section |
| Line Item | An individual item line from a customer order | Store individual order items in this section |
| Transfer Tote | A physical container used to move items between locations during processing. See [Introduction to Tote Processing] (Coming Soon) | Store totes moving between places in this section |
| Delivery Package | A packed package ready to be delivered or collected | Store packed delivery items in this section |
| Mix and match | Select any combination that belongs in the section | Allow multiple item types in the same section |
- Stock In/Out Scan Method
| Pick this | Result |
|---|---|
| QR Code | Staff scan a QR code to record movement |
| NFC | Staff tap an NFC tag to record movement |
| Mix and match | Allow more than one scan method for the section |

How to Delete an Inventory
- Open the Inventories tab.
- Click the three-dot menu on the row and click Edit to open the inventory profile.
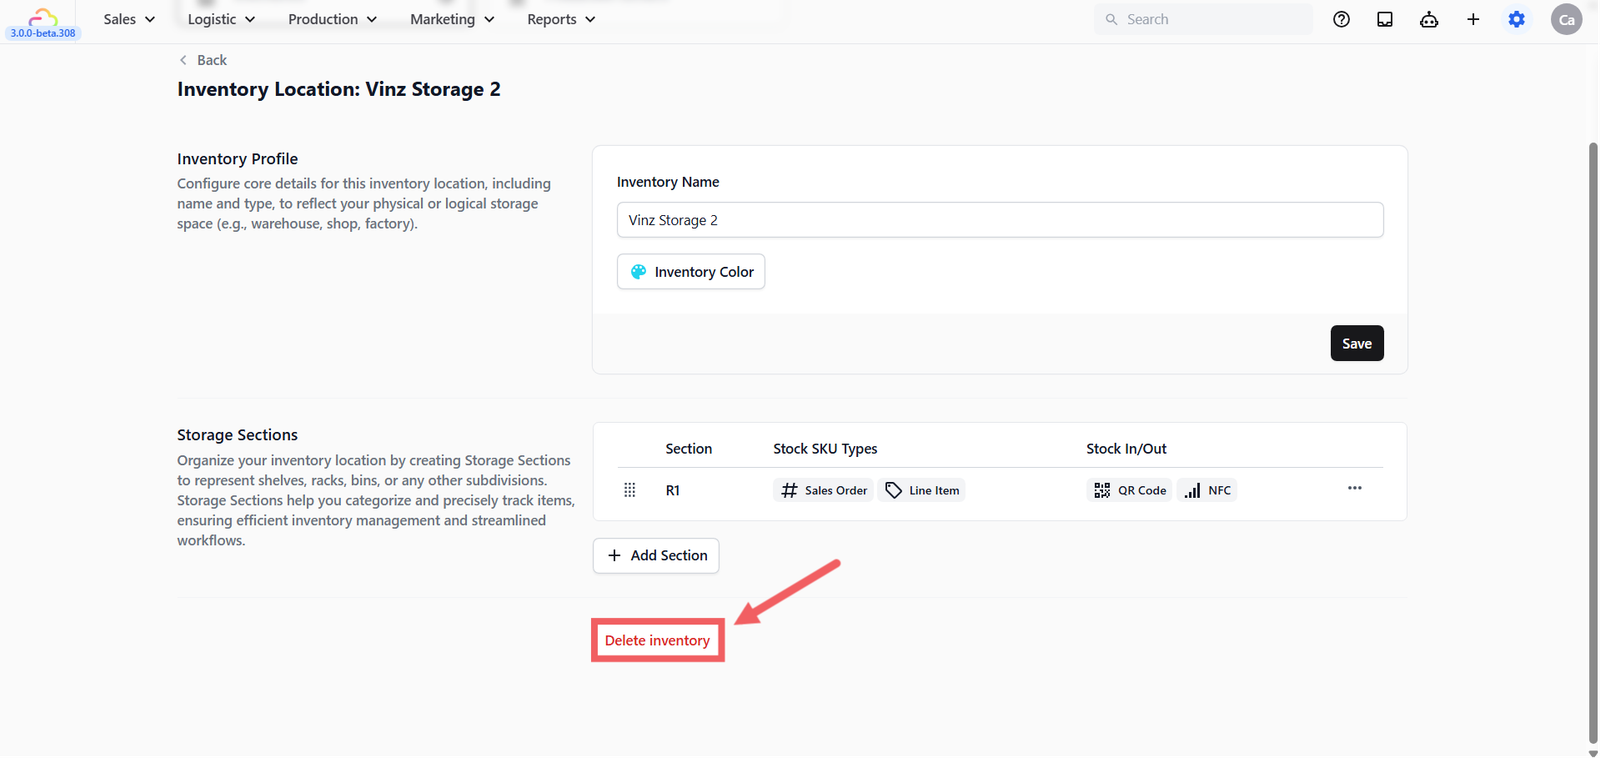
- Scroll to the bottom of the profile page and click Delete inventory.
FAQs
Do I need to add Storage Sections immediately?
No. Add them when your team needs shelf, rack, or bin level tracking.
Can I rename an inventory later?
Yes. Click the three-dot menu on the row, click Edit to open the inventory profile, update the name, and click Save.
What should I name sections?
Use short names your staff already understand, such as R1, R2, Shelf A, or Bin 1.
Can one section allow different item types?
Yes. Stock SKU Types is a multi-select field, so you can mix item types when the section is used for more than one purpose.
Can I delete an inventory from the list row directly?
No. Click the three-dot menu, click Edit to open the profile, then use the Delete inventory button at the bottom of the page.
What's Next
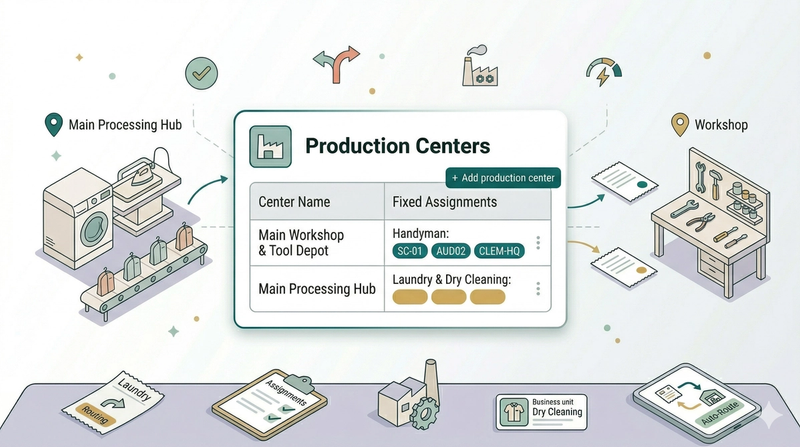
Now that your storage areas are named, continue to [Managing Production Centers] if your work needs to be routed to a workshop, plant, or service center.
Give feedback
Up next
Managing Production CentersCreate production centers so EasyBiz knows where different types of work should be handled.
Read more