
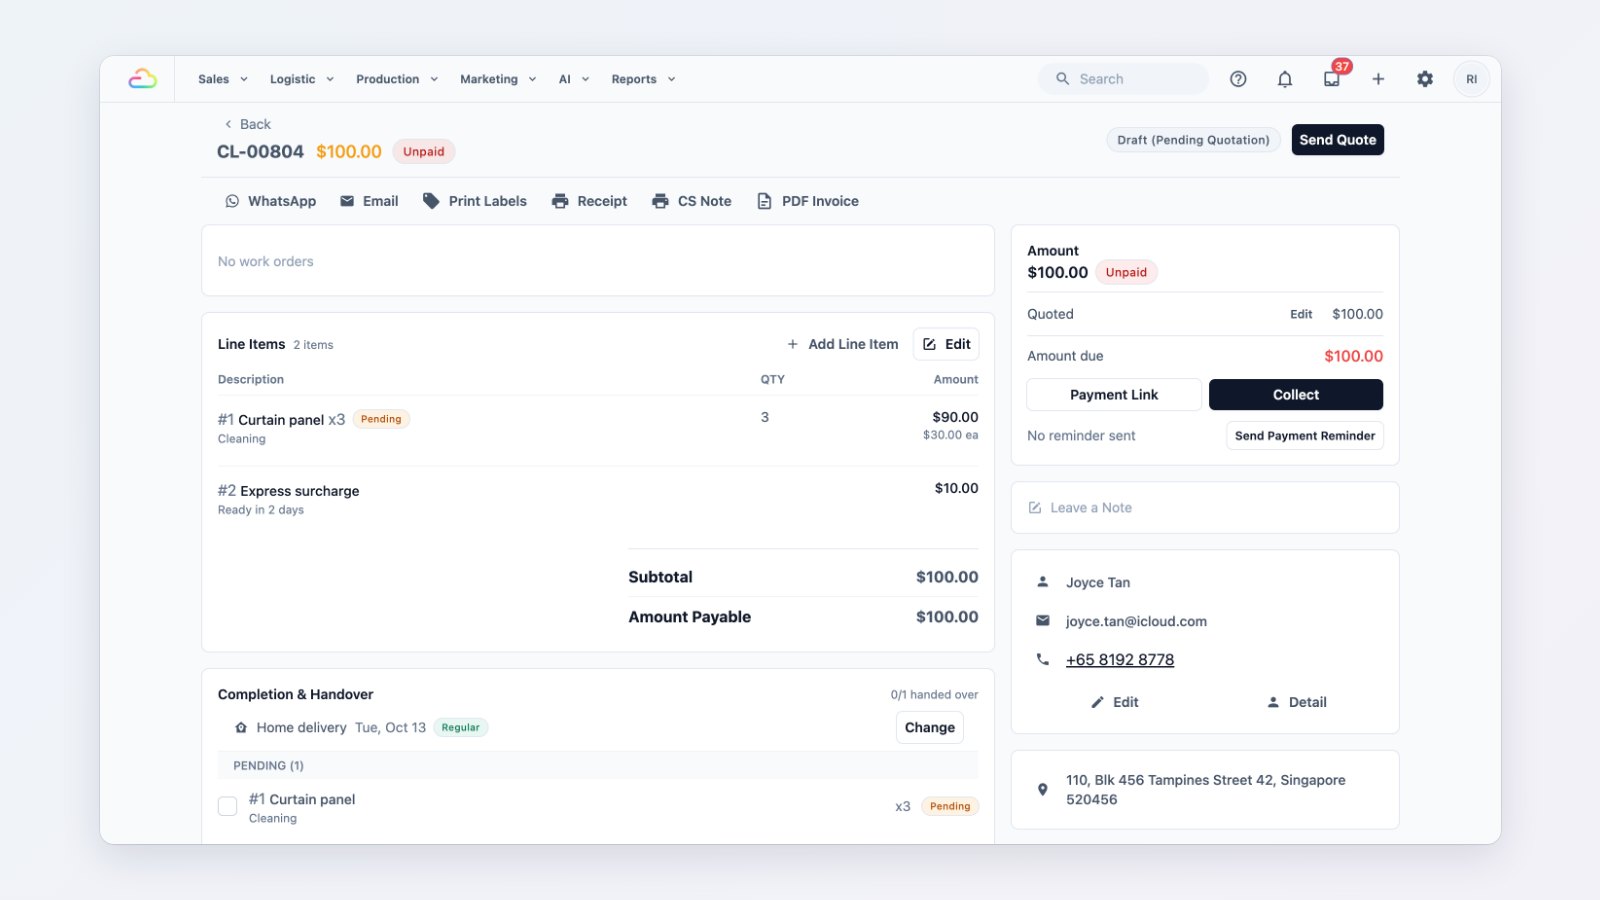
Plenty of orders don't start at the counter. They arrive by phone or WhatsApp, or a regular customer emails a list. Your office team can now take and settle those orders in the Console, without walking over to a POS terminal.
Create an order in a few steps
Start a new order from Orders → New order or the + menu. Pick the business unit, the customer and the items, choose the pickup or delivery slot, and add a coupon or an adjustment if needed.
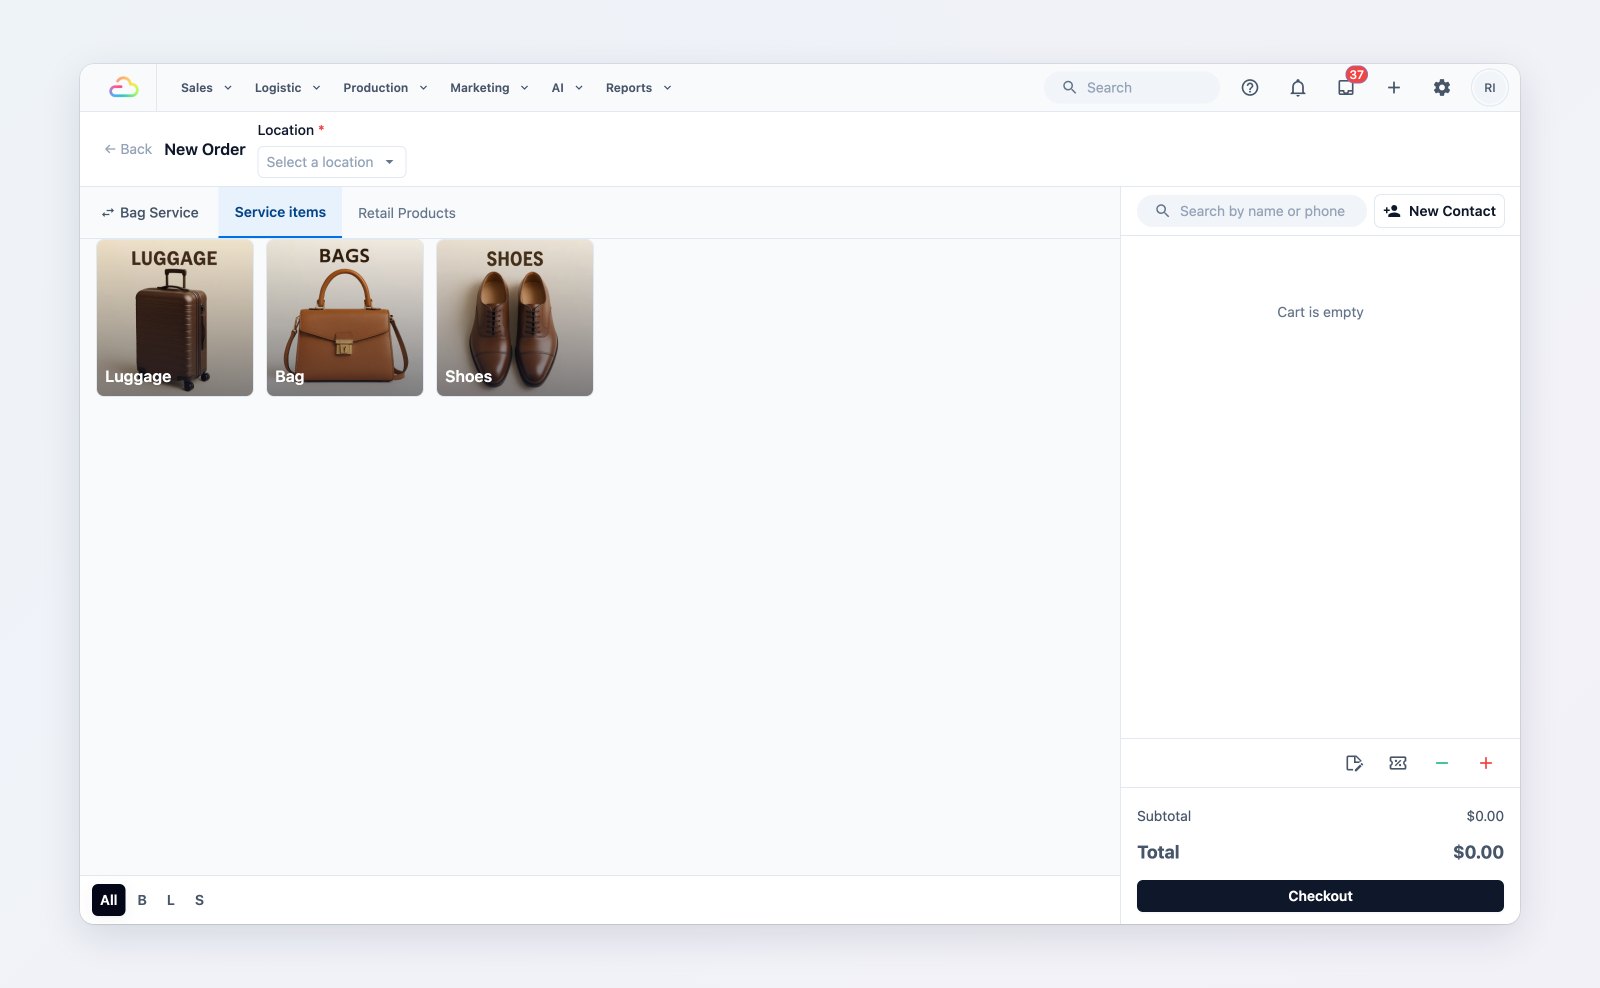
Pick items by category, then check out.
Everything on the order page
The order page shows the line items, what is paid and what is still due, the customer, and the pickup or delivery job. From there you can:
- Collect payment by cash, card, store credit or points, and back-date a payment when needed.
- Refund with a record of who refunded what, and why.
- Print the receipt and item labels.
- Message the customer with a WhatsApp template or an email.
- Void an order, if your role allows it.
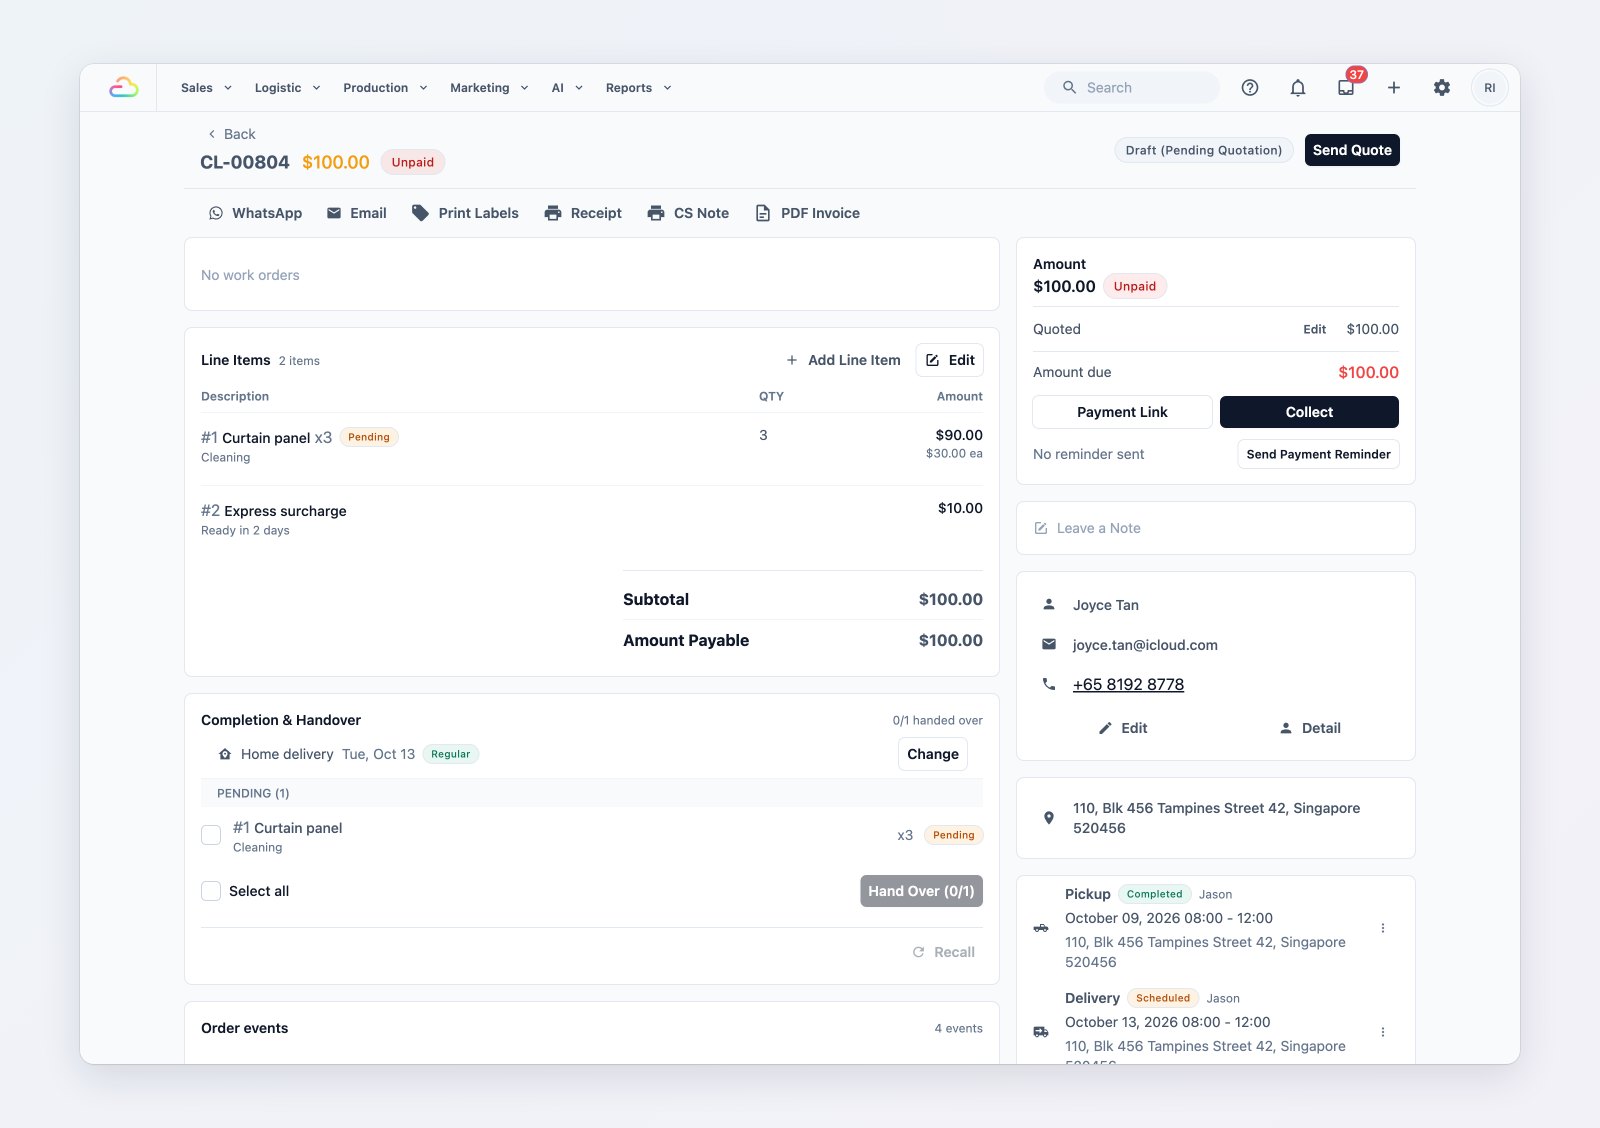
Payments, printing and messages for an order, all from one page.
Find any order fast
The Orders list can be searched and filtered by date, status, sales channel and customer, and exported.
Where to find it
Open Sales → Orders, or use + → New order. See Introduction to order management and Processing refunds and returns.