
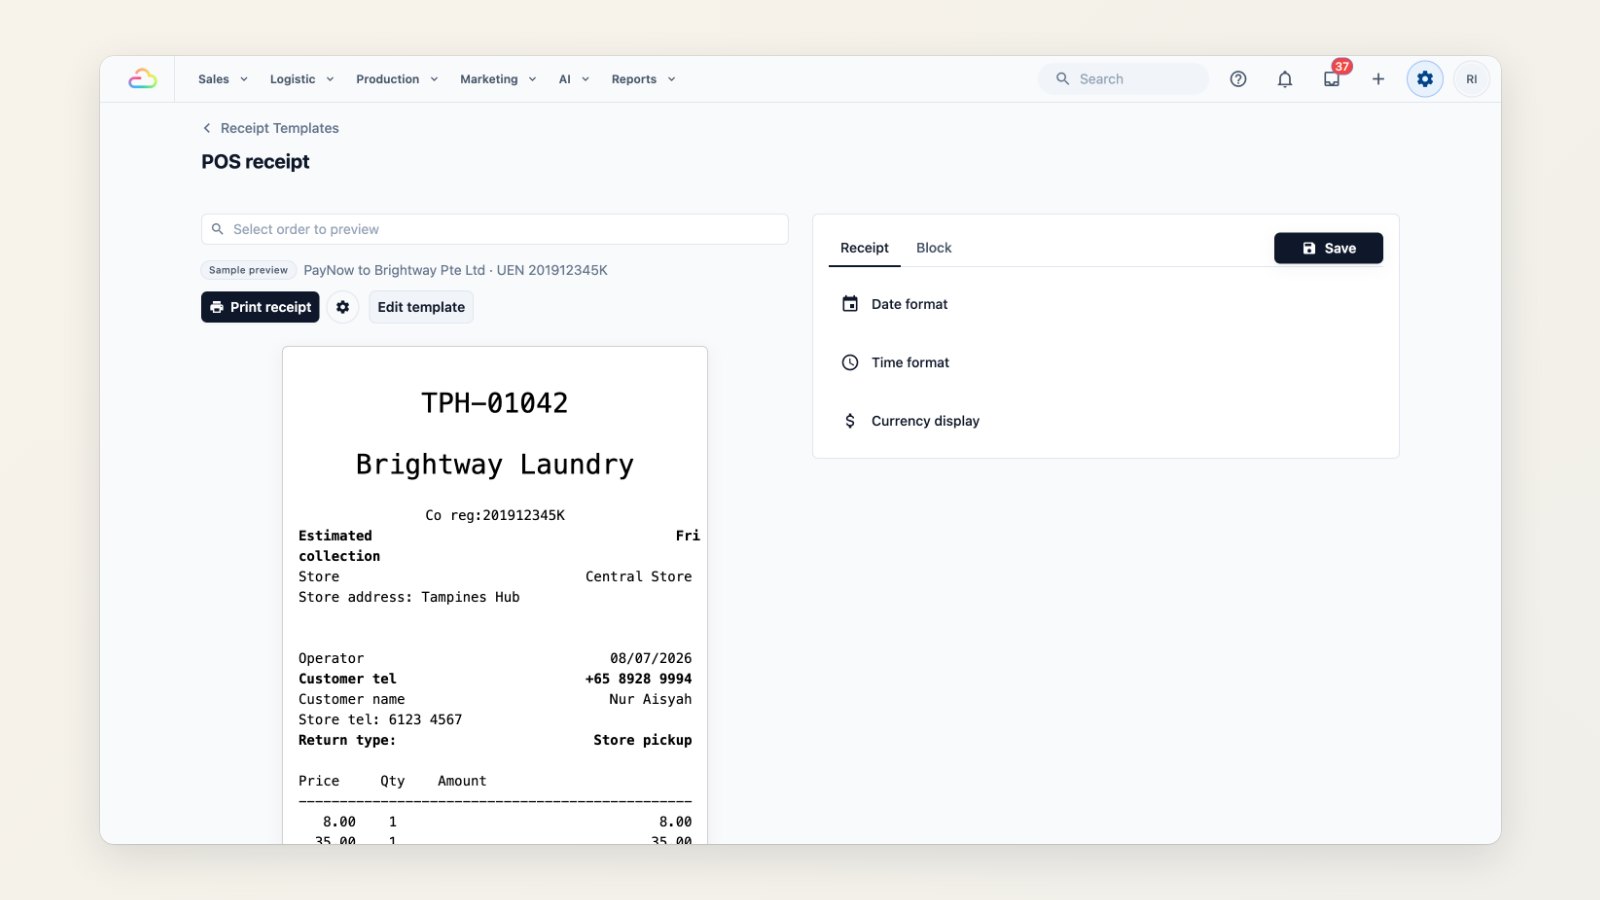
Receipts and item tags do real work at the counter. A receipt tells the customer when to come back. A tag keeps their shirt from going home with someone else. You can now design both yourself.
Receipts with what your customers need
Build the receipt block by block: your logo and company details, the order number, collection date, customer details, the items with prices, totals and a QR code. Put details side by side in columns to keep the receipt short. Blocks can be set to print only when they apply to the order, so receipts stay short.
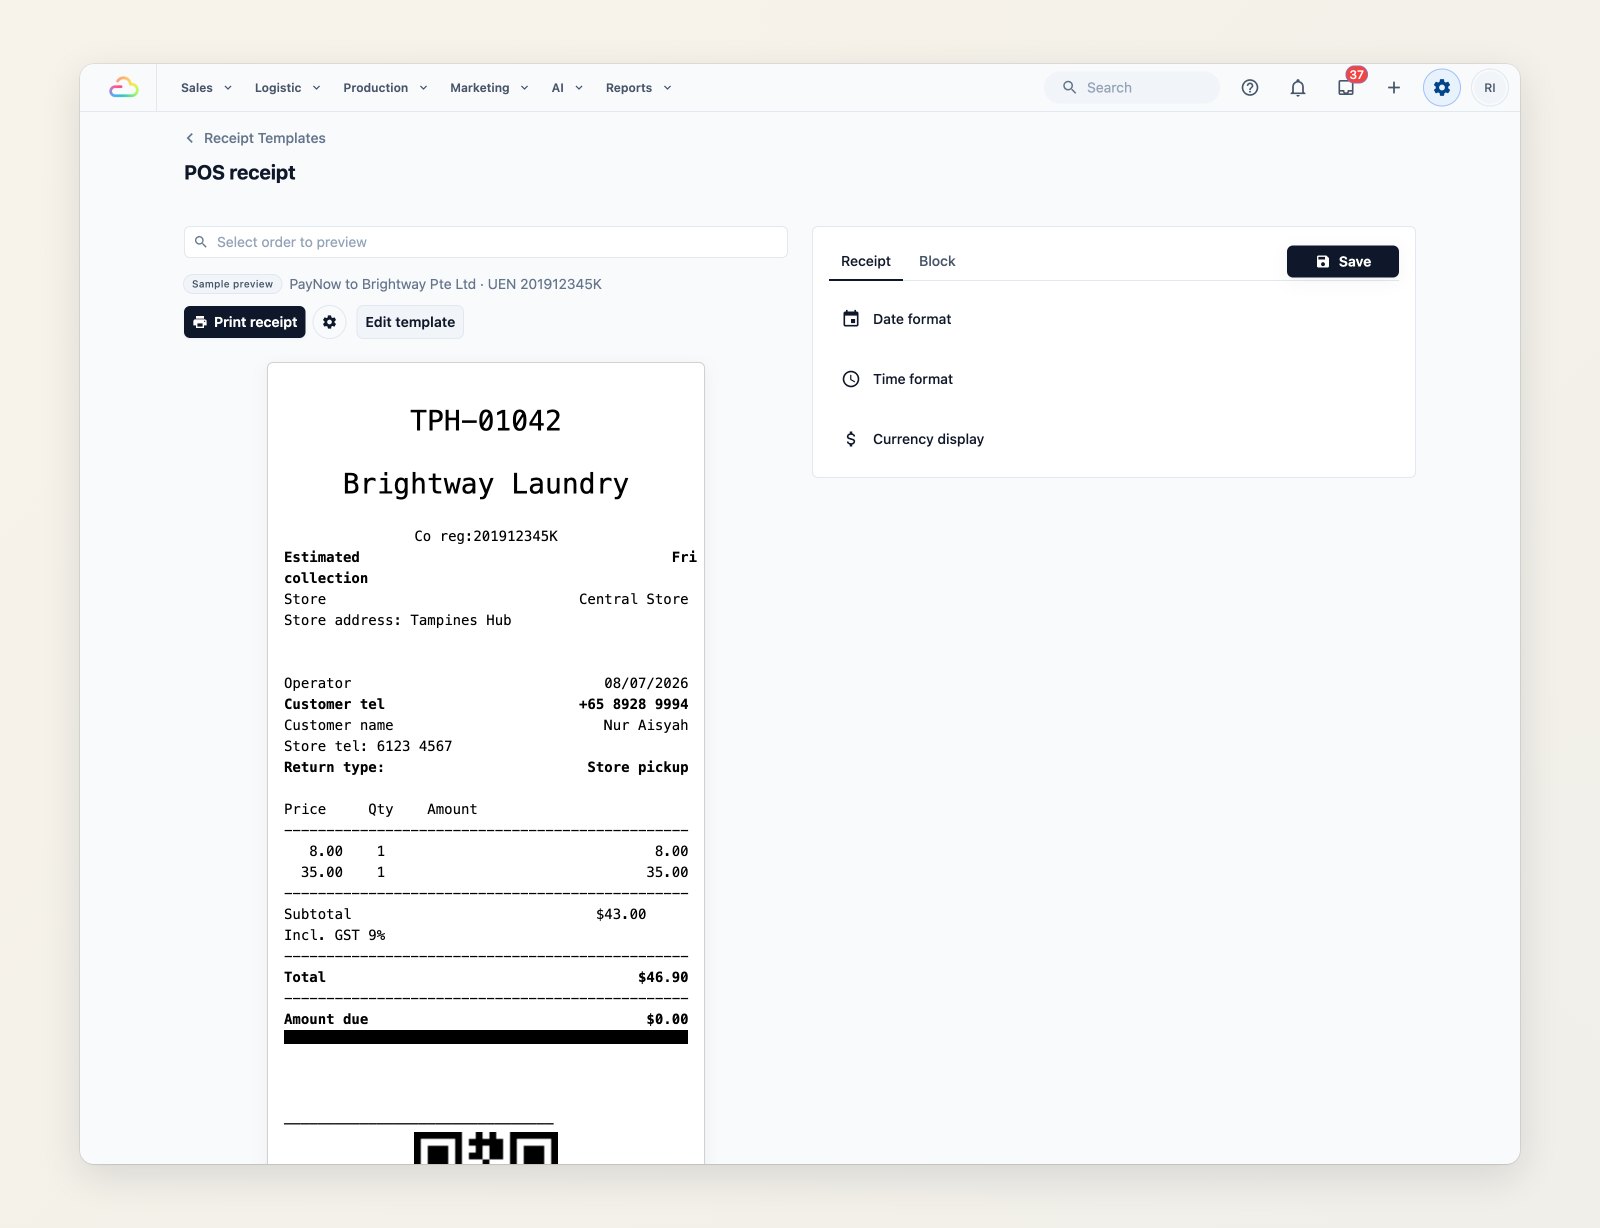
Preview the receipt with a sample order, then print a test.
Labels that scan and stay readable
Set the label width and height, DPI, printing direction and darkness, and the size of the QR code, so tags come out sharp on your printer and scan first time. Each business unit can have its own label.
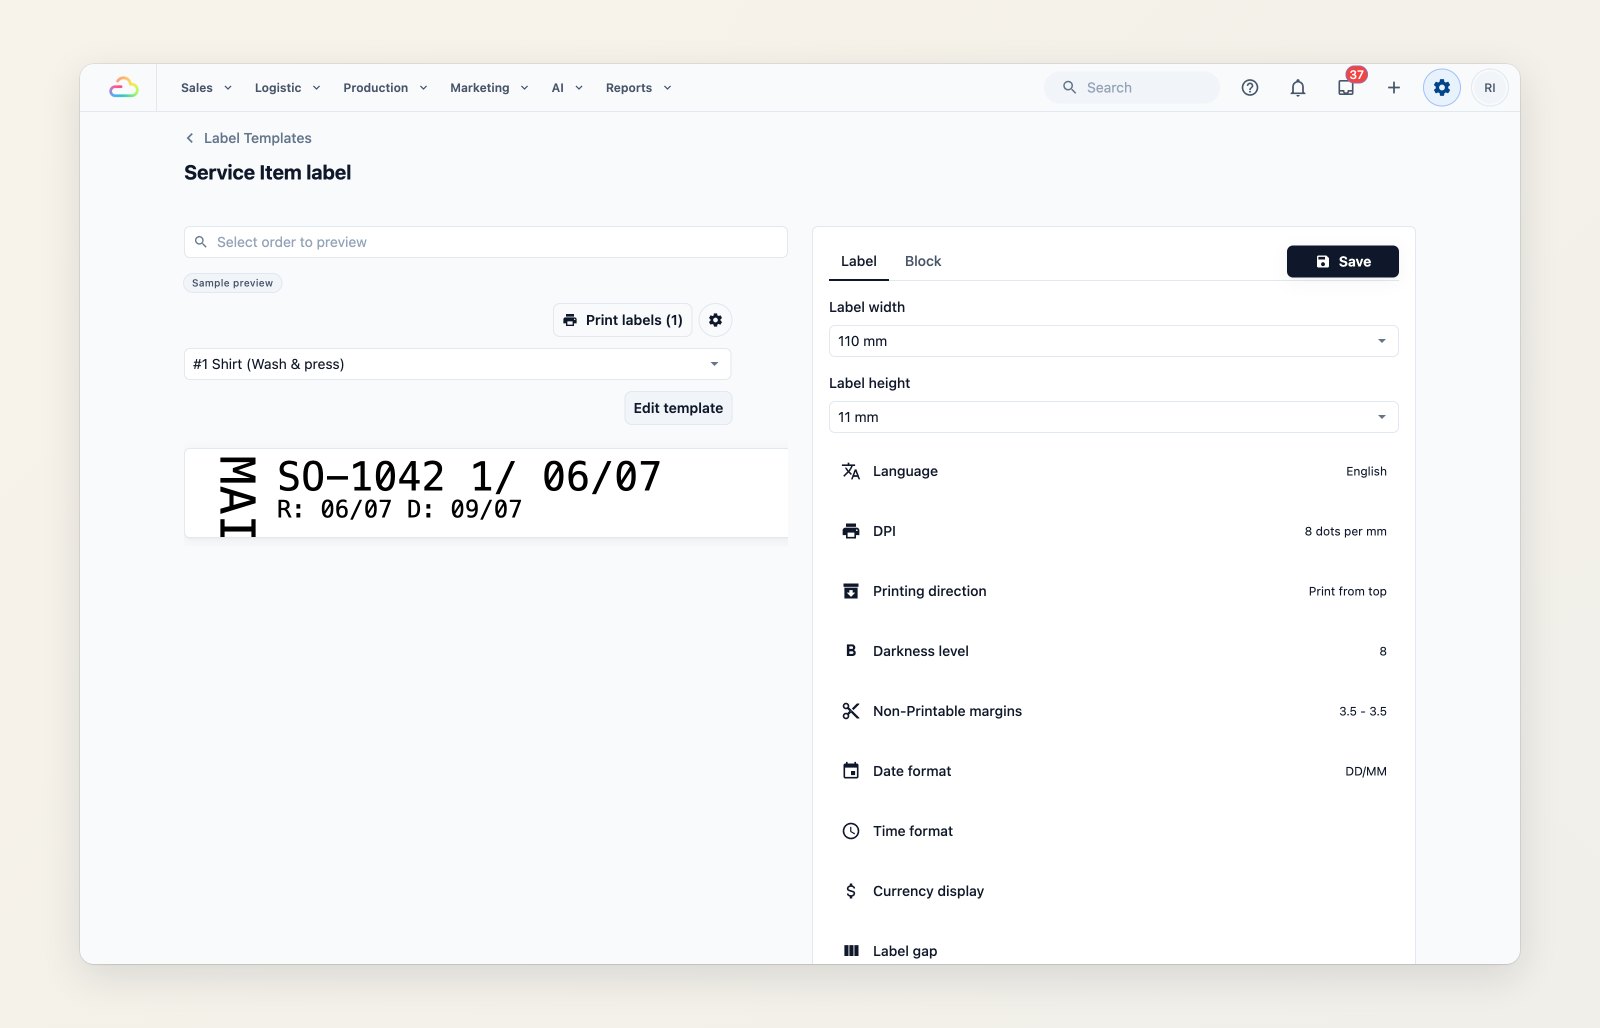
Label size, print darkness and DPI are set per template.
The same output from every device
Labels and receipts look the same whether you print from the Console, a counter POS or a phone, so a tag printed at one shop matches the tag printed at another.
Where to find it
Go to Settings → Templates → Receipt or Label. If labels come out faint or shifted, see Blurry or misaligned labels.