Connect & Configure WhatsApp
In this article
Before your team can use the shared inbox or send automated messages, you need to link your WhatsApp Business account to EasyBiz. This is a one-time setup that takes just a few minutes.
Contents
Contents
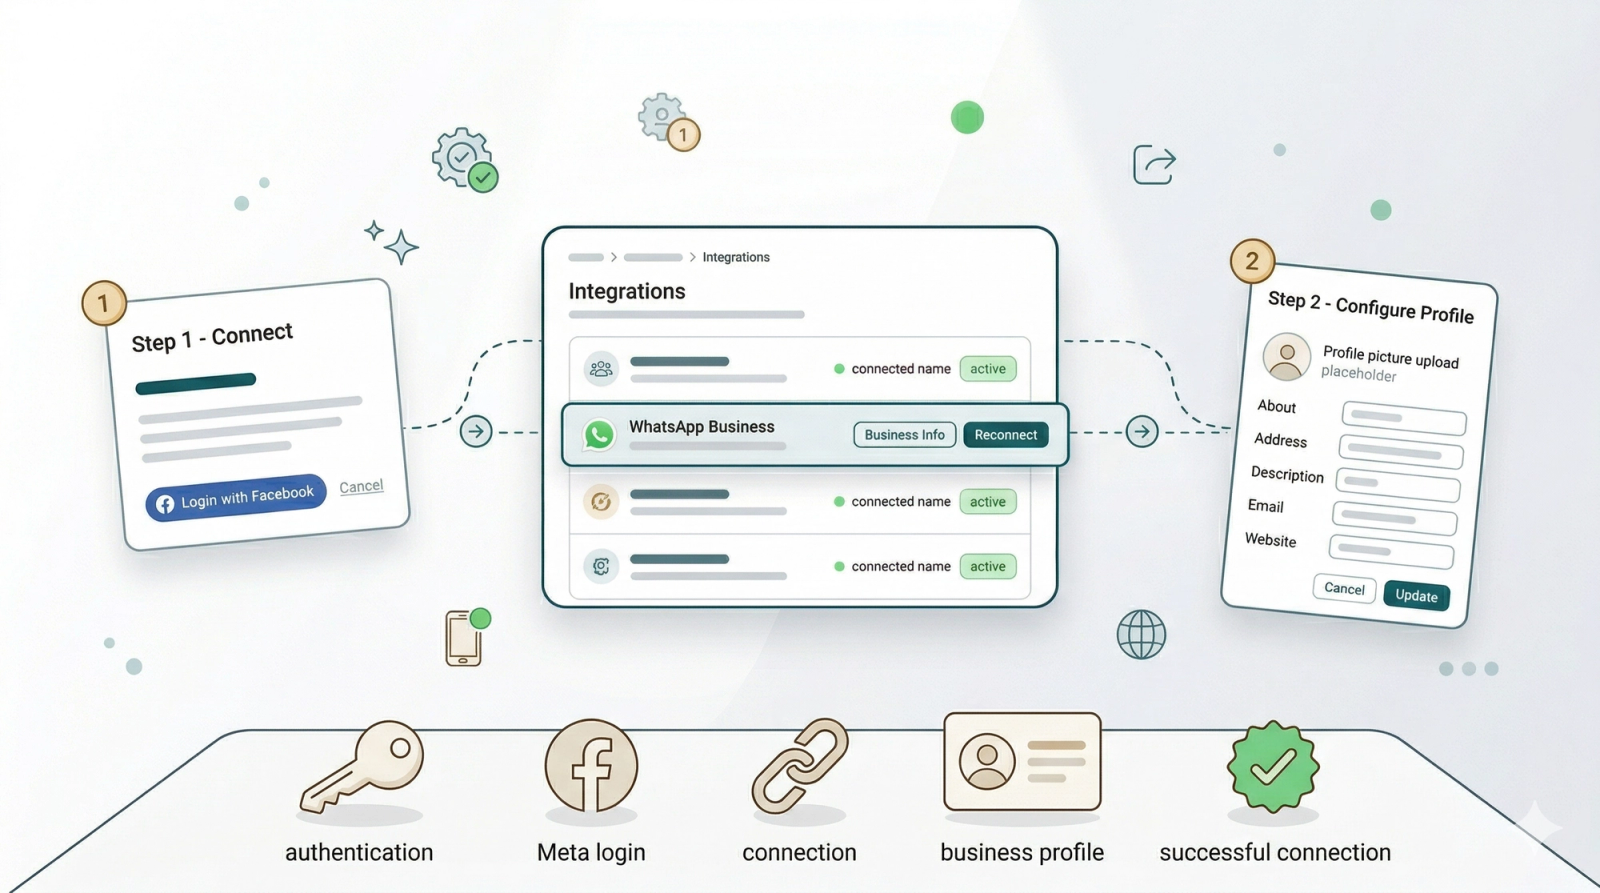
Step 1 — Connect Your WhatsApp Account
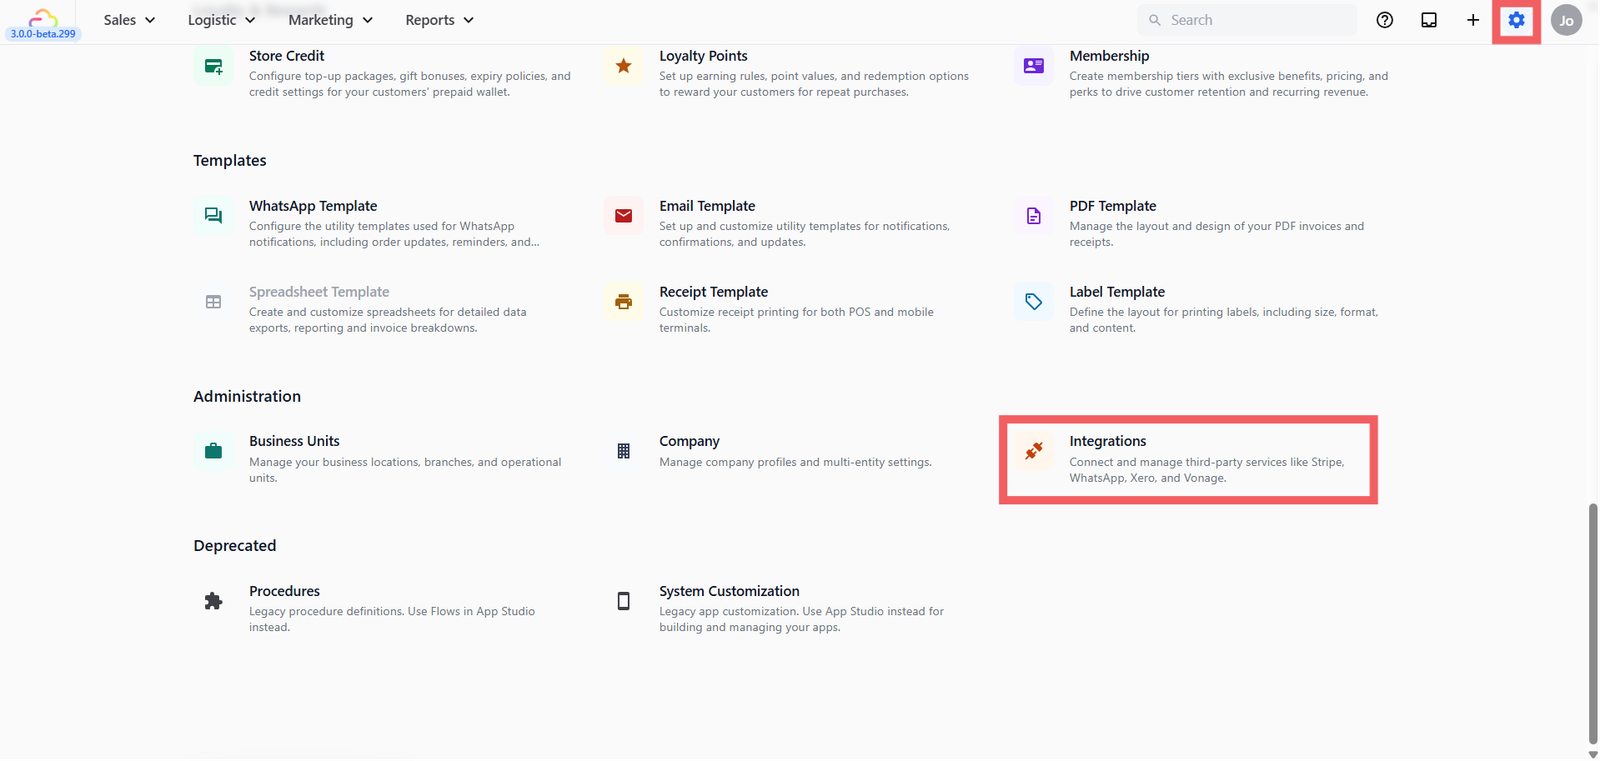
- Go to Settings from the top navigation
- Scroll down to the Adminisration section and click Integrations
- Find WhatsApp Business in the list and click Connect
- In the popup, click Login with Facebook
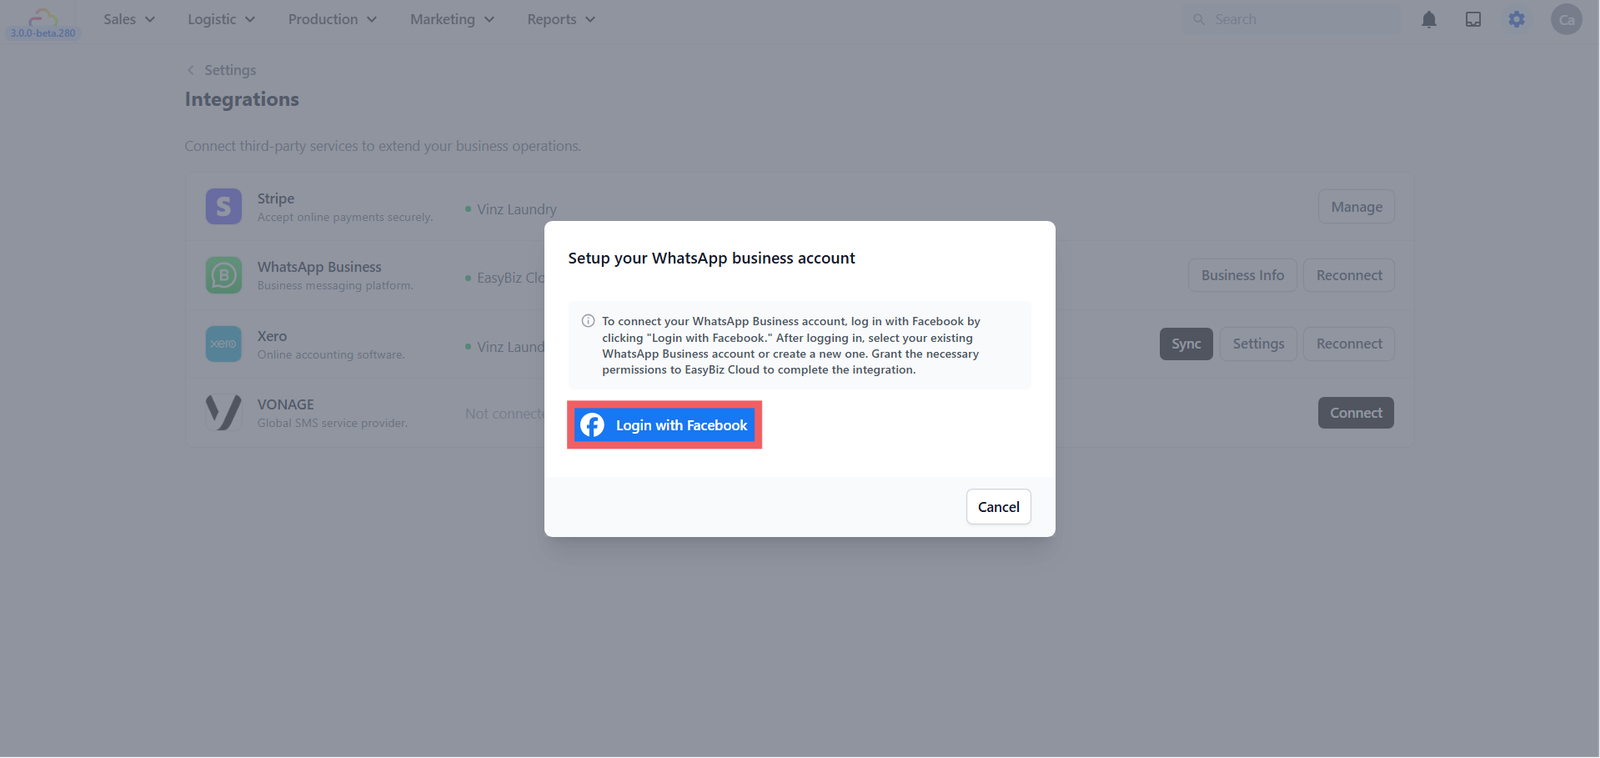
- A Meta window will open — follow the steps to:
- Select an existing Business Portfolio or create a new one by filling in your business name, category, country, and website
- Select an existing WhatsApp Business account or create a new one and add your business phone number
- Follow the remaining steps on screen to complete the setup
Once done, you'll be redirected back to EasyBiz and WhatsApp will show as connected with a green dot and your business name.

Step 2 — Set Up Your Business Profile
Your business profile is what customers see when they look at your WhatsApp contact — your logo, address, and a short description of your business. This makes your business look professional and trustworthy.

1. On the Integrations page, find the WhatsApp Business row
2. Click Business Info. Fill in the following:
- Profile picture — Upload your business logo
- About — A short one-line description (e.g. Professional laundry and dry cleaning service)
- Address — Your store address
- Description — A short paragraph about your business
- Email — Your business email
- Website — Your online store or website link
3. Click Update to save
What's Next?
Now that your WhatsApp number is connected, continue to [Introduction to WhatsApp Message Templates] to learn the different template types you can use to message customers at scale.
Give feedback
Up next
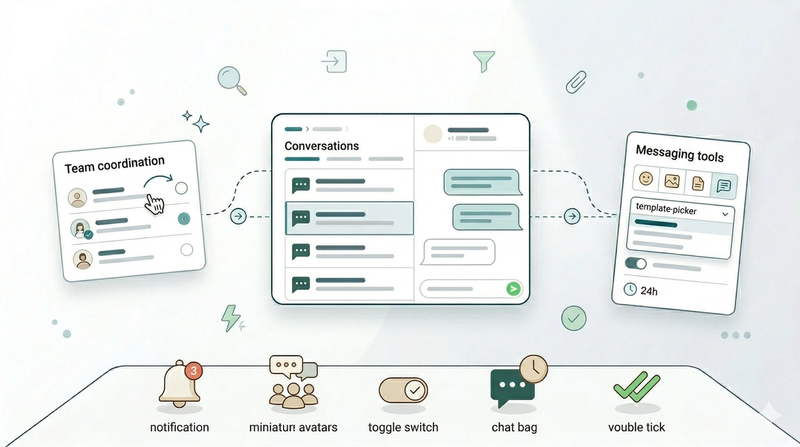
Managing Conversations InboxHow to manage customer chats, assign conversations to your team, and stay on top of who still needs a reply.
Read more