Adding a Teammate Account

In this article
A teammate account lets one staff member sign in to your business with their own email and password. You create the account, send them a sign in email, and then come back later to edit details, reset their password, or delete the account. Adding a teammate also adds a Workflow Account seat to your subscription, which is what unlocks the new login. Once the account exists you can move on to setting their permissions.
Contents
Contents
Before You Start
Three things must be true for the Add Teammate button to appear and the new account to save:
- You must be signed in with an account that holds the Manage Billing admin permission. The main account always has it. Other teammates only have it if you have granted it.
- Your subscription must be active or in trial. Past due or cancelled subscriptions block the Add Teammate flow.
- The display name you choose must be unique inside your shop. EasyBiz blocks duplicates because the name appears in system logs.
If the Add Teammate button is not visible, you do not have Manage Billing. Sign-in as the main account or ask the owner to grant it.
Add a New Teammate
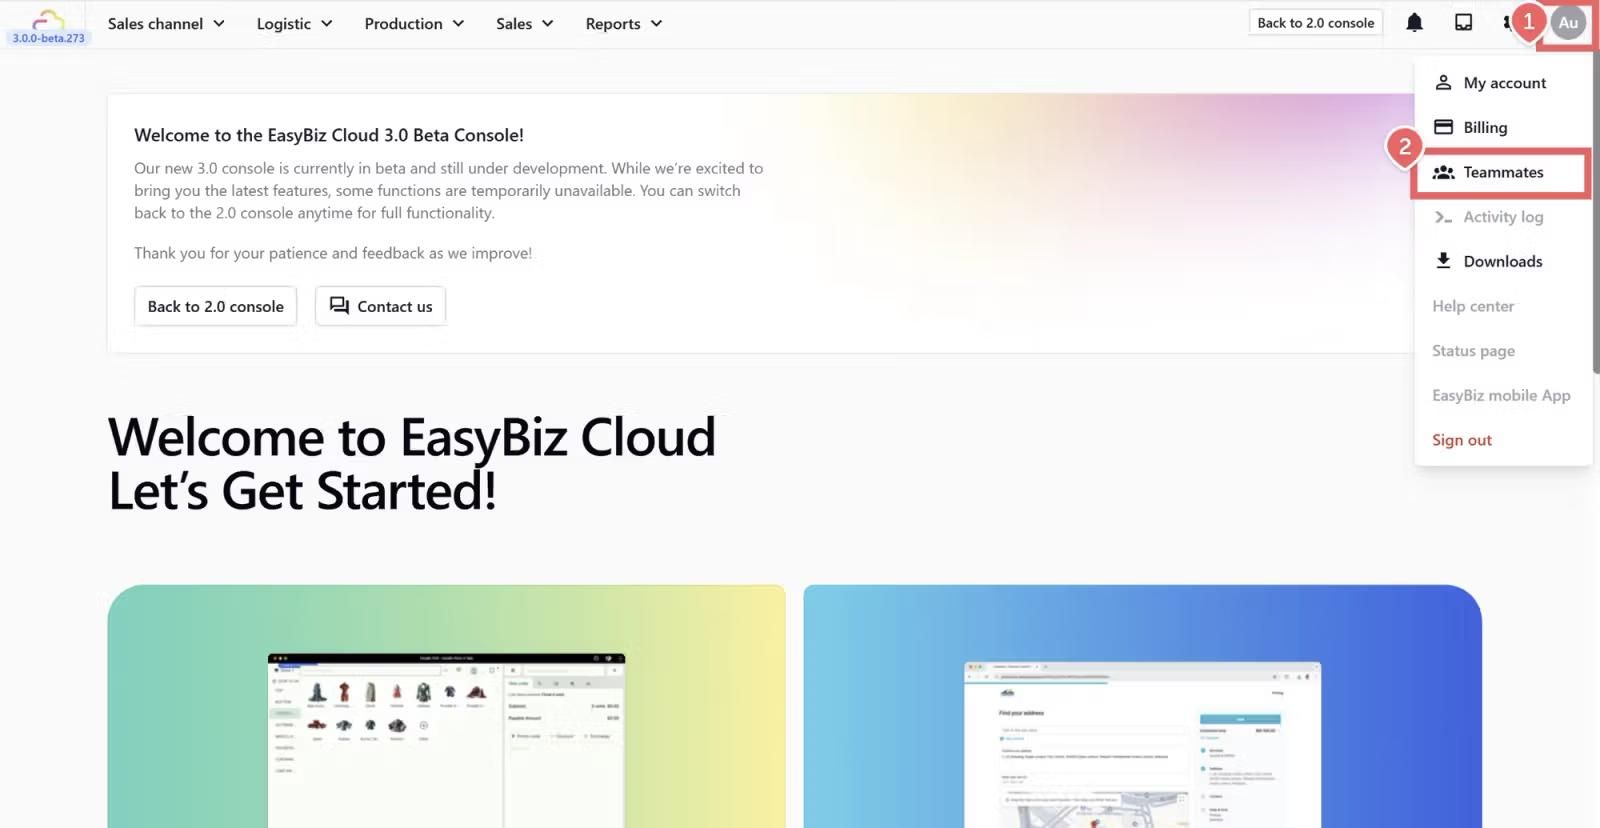
- Click the 👤 Profile icon in the top-right corner.
- Click Teammates.
- Click Add Teammate.
Fill in the new account form with the fields below.
Account display name
| Pick this | Result |
|---|---|
| Real staff name (for example Sarah Tan) | Shown in system logs and as the operator name on every action they perform |
| Generic role name (for example Counter 1) | Use only if multiple staff share the login — every action will be logged under the same name |
Login email
| Pick this | Result |
|---|---|
| Personal work email | The teammate uses this to sign in and receive system notifications |
| Generic shop email | Avoid for individual accounts — password resets go to a shared inbox |
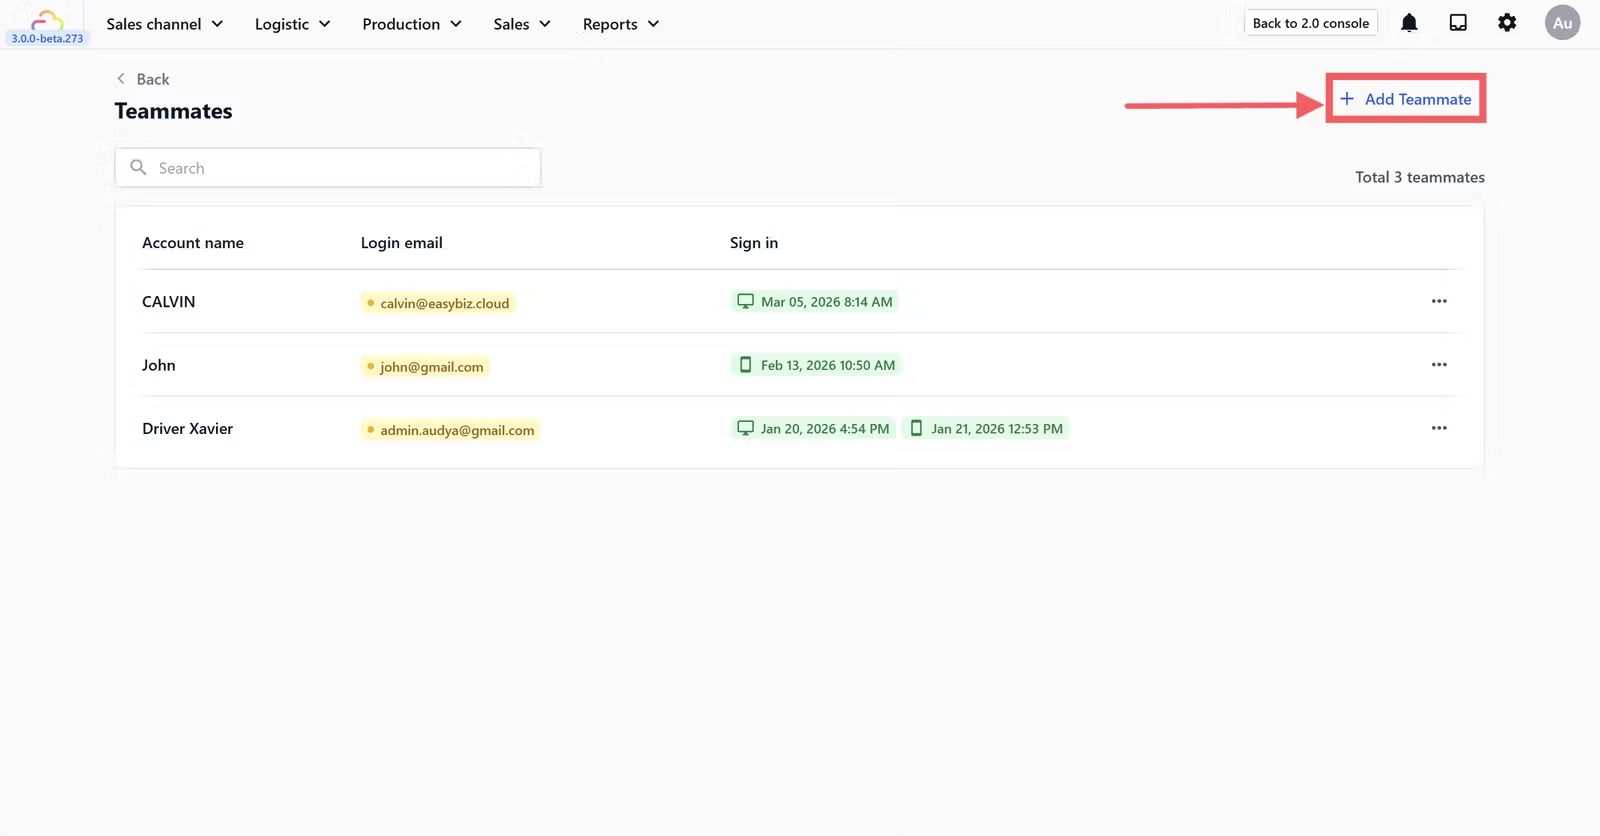
After you click Add, a Workflow Account seat is added to your plan and the teammate appears in the Teammates list.
Send the Sign In Email
EasyBiz does not send an invite email automatically. The owner sends it from the teammate's profile.
- Open the teammate from the Teammates list.
- Click Send Sign In Email in the top-right corner of the profile page.
- Set a temporary password when prompted and confirm.

The teammate receives an email with the sign in link. They use the temporary password the first time and can change it from their own profile after signing in.
Edit a Teammate Account
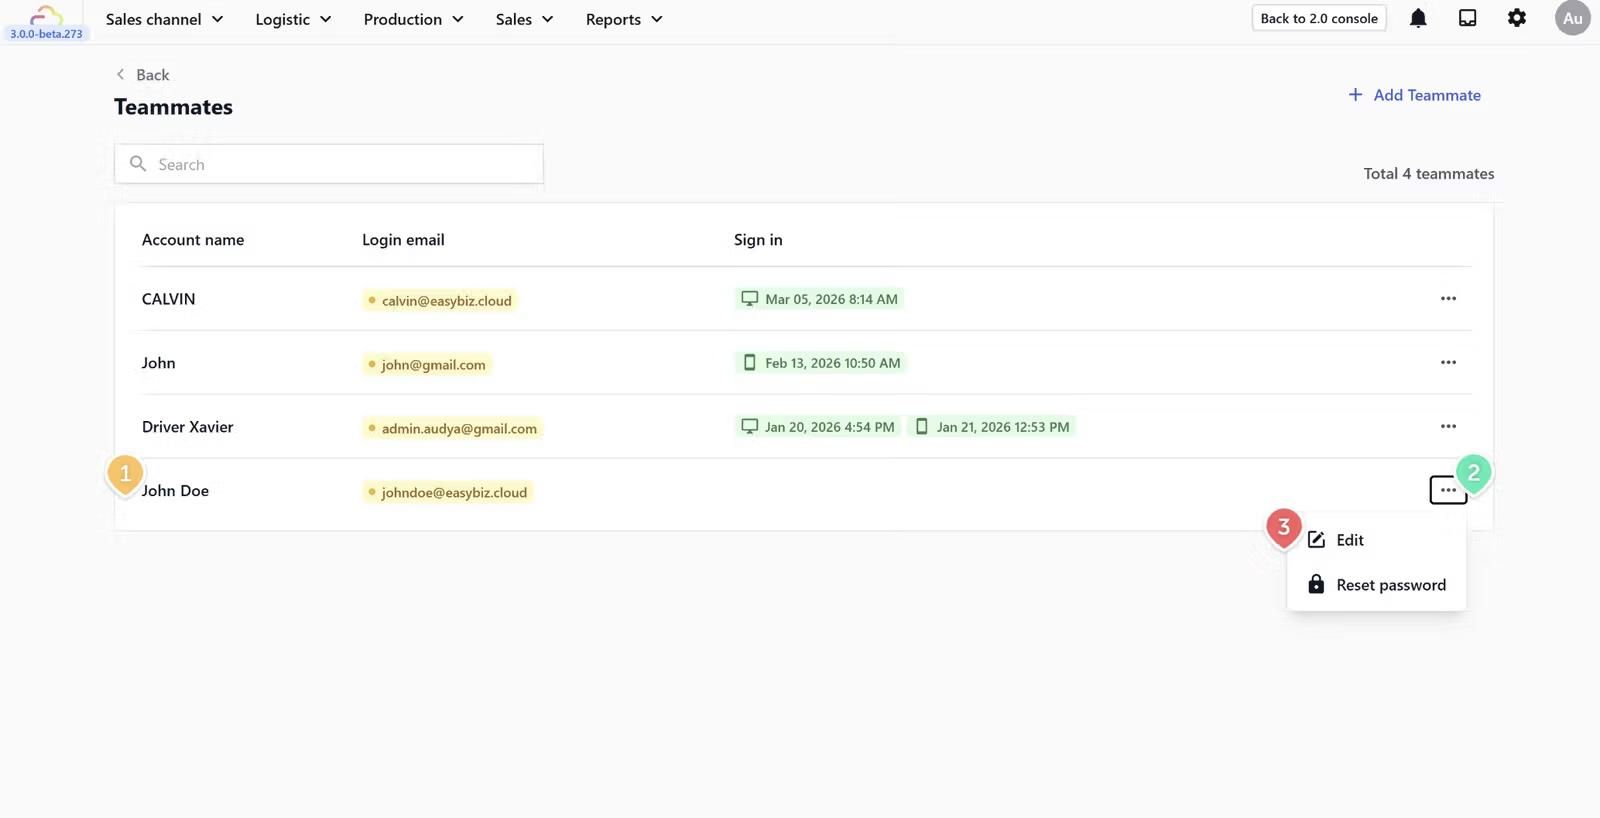
- On the Teammates page, find the teammate you want to edit.
- Click the ⋯ (three dots) button on the right side of their row.
- Click Edit.
Reset a Teammate Password
- On the Teammates page, find the teammate you want to edit.
- Click the ⋯ (three dots) button on the right side of their row.
- Click Reset Password.
The teammate receives a fresh sign in email. The previous password stops working immediately.
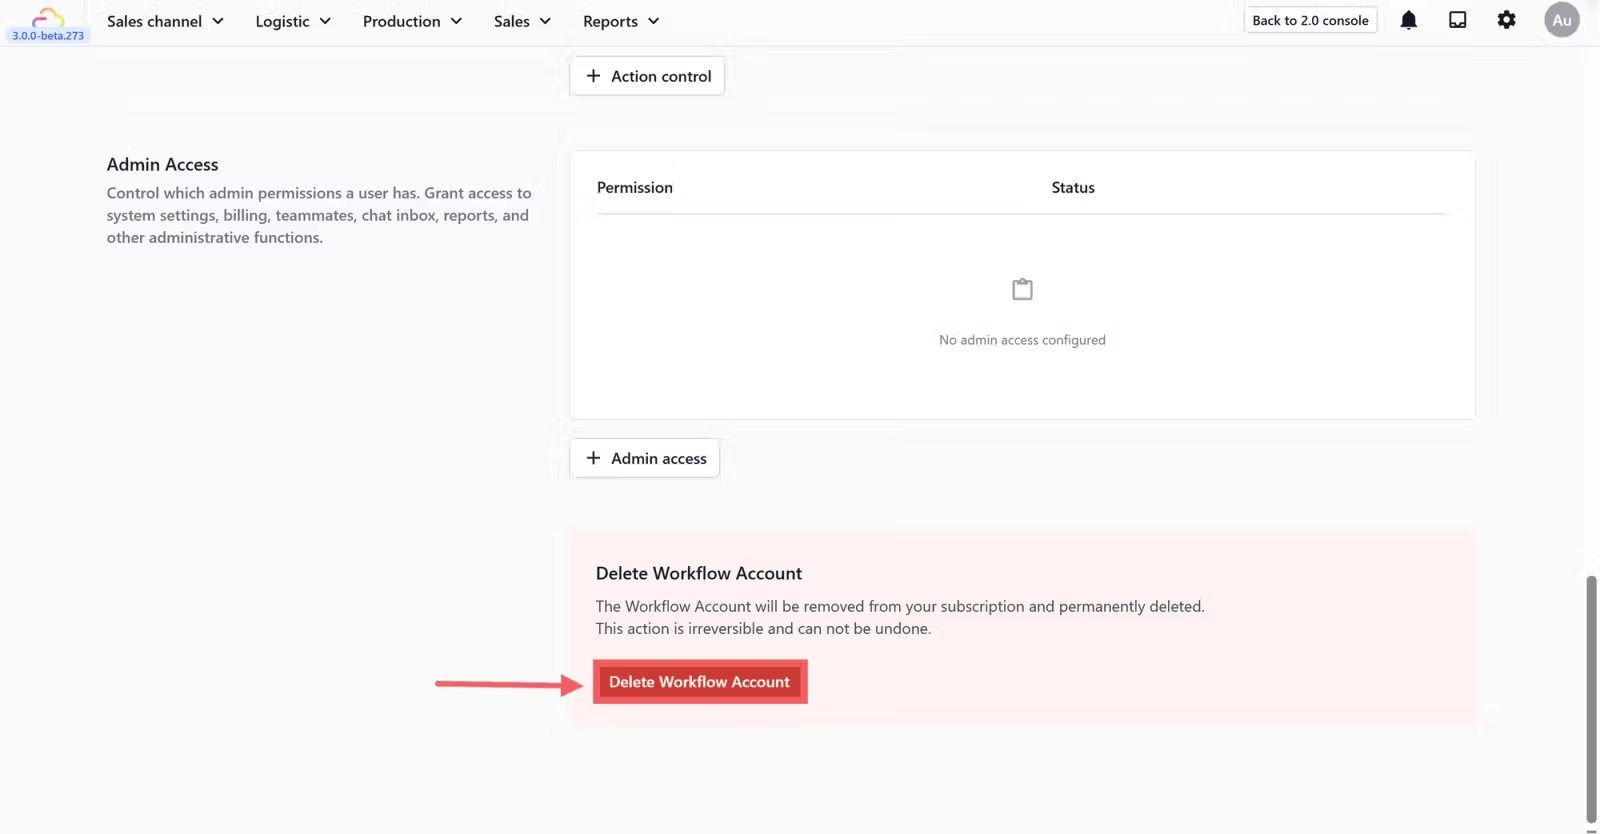
Delete a Teammate Account
- Open the teammate from the Teammates list.
- Scroll to the bottom of the profile.
- Click Delete Account and confirm.
FAQs
The Add Teammate button is greyed out. What is wrong?
You do not hold the Manage Billing admin permission. Sign in as the main account or ask the owner to grant Manage Billing first.
Why was a teammate billed even though they never signed in?
Adding a teammate adds a Workflow Account seat immediately. Delete the account if they will not be used.
Can two teammates share the same login email?
No. Each email must be unique inside your shop.
The teammate did not receive the sign in email. What now?
Click Send Sign In Email again to resend with a fresh temporary password. Check the spam folder before resending more than twice.
Can I change a teammate's email after they have started using the account?
Yes. Type the new email into the Email field on their profile. Their sign in switches to the new email at next login.
What's Next
Now that the teammate exists, continue to [Setting Up App Access] to choose which apps they can sign in to.
Give feedback
Up next
Setting up App AccessChoose which of your apps a teammate can sign in to before you fine-tune any other permission.
Read more