Setting Up Top-Up Programs
In this article
Cash flow is the lifeline of any service business. The Top-Up Program allows customers to deposit a lump sum of money (Store Credit) in exchange for a small bonus. Ideally, you want customers to pay you today for services they will use next month.
Contents
Contents
Why Use Top-Up Programs?
- Instant Liquidity: Get a massive injection of cash upfront instead of waiting for daily small transactions.
- The "Lock-In" Effect: A customer with $50 remaining in their balance will not walk into a competitor’s store. You have effectively secured their next 5 visits.
- Speed Up Checkout: No need for card swiping or cash change every time. Deducting from a prepaid balance is instant.
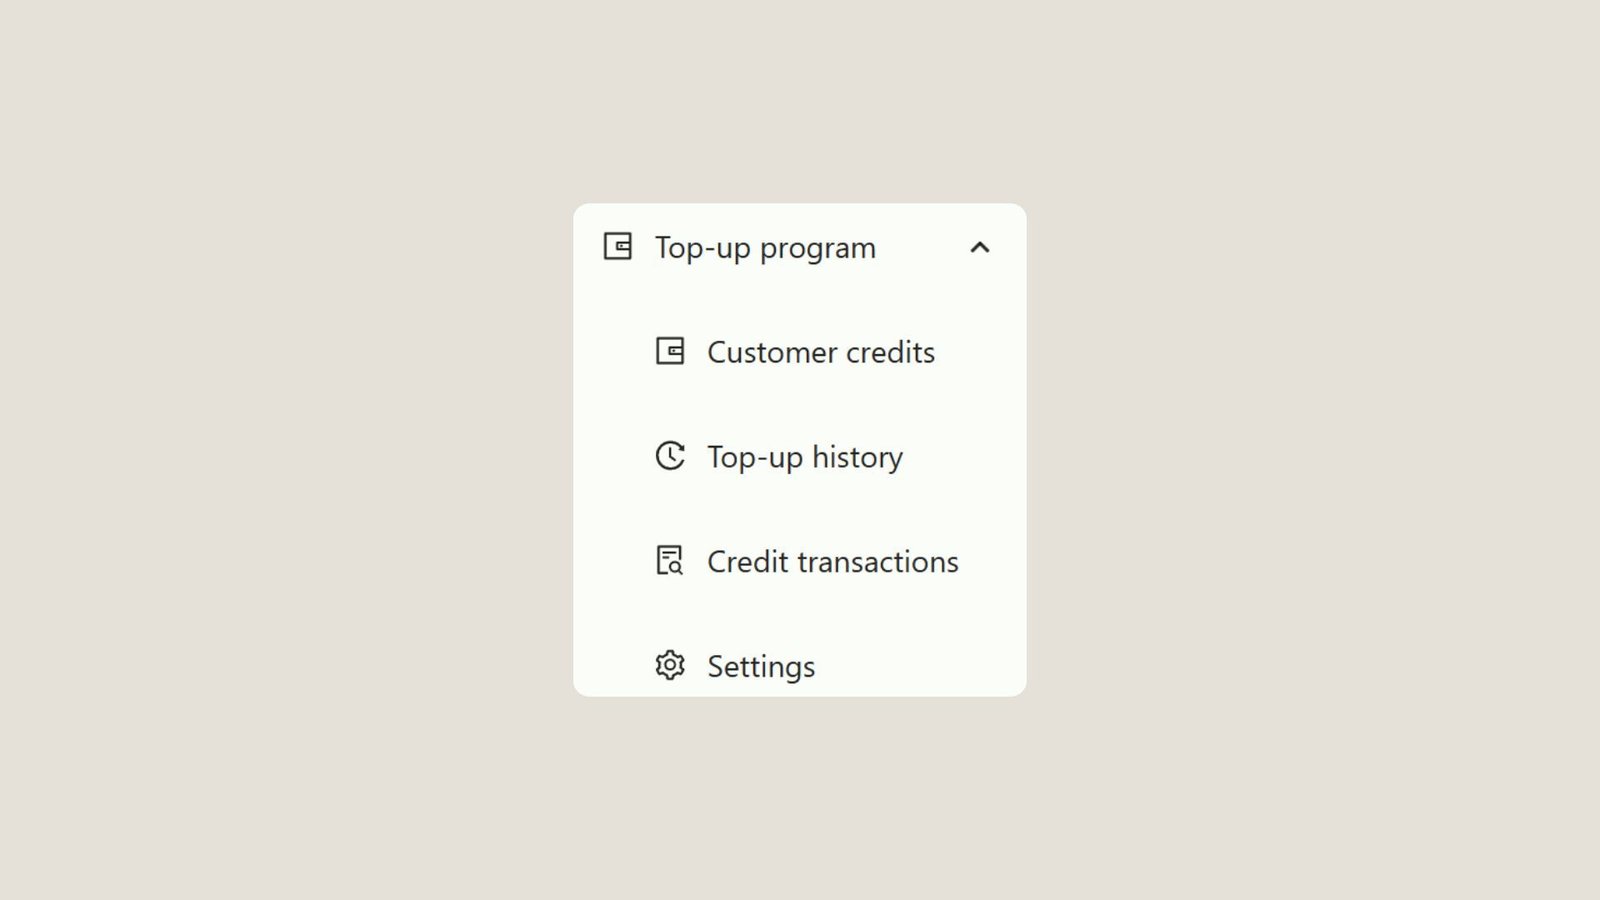
Accessing Top-Up Settings
To configure credit packages, you must be in the 2.0 Console.
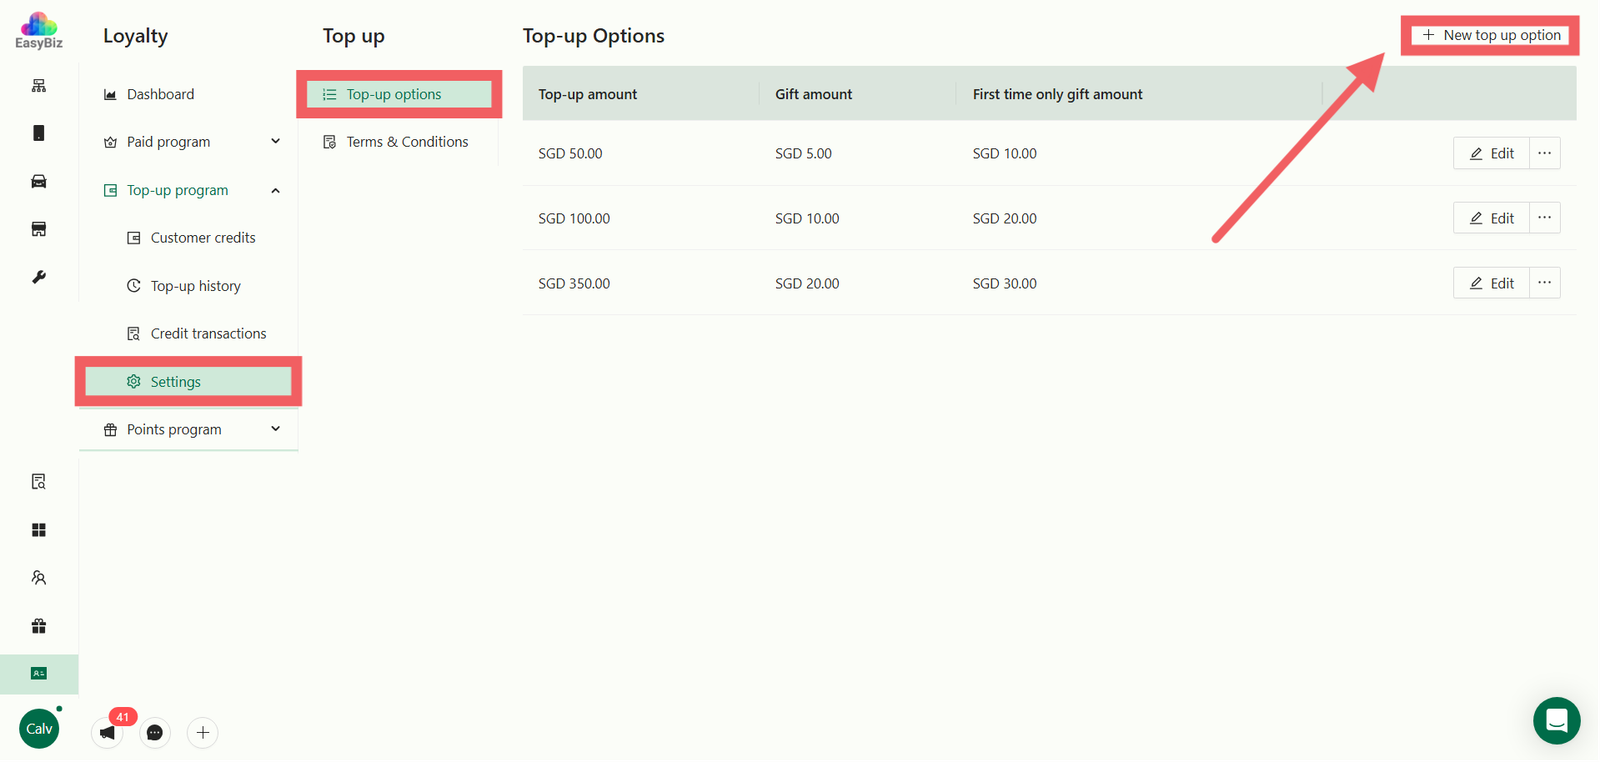
- Navigate to Loyalty > Top Up Program.
- Select Settings from the sub-menu.
- Click the + New Top Up Option button.
Configure Package Amounts & Bonuses
You can create tiered packages (e.g., "Pay $50, Get $60") to encourage higher spending.

In the configuration pop-up:
- Top-up Amount: Enter the amount the customer pays (e.g., SGD 50).
- Gift Amount (Optional): Define the extra bonus credit given for free.
- First time: The bonus received the first time they buy this specific package (e.g., SGD 10).
- Second and after: The bonus received for repeat purchases of this package (e.g., SGD 5).
Example Scenario:
If you set Top-up SGD 50, First Time Gift SGD 10, and Second Time Gift SGD 5:
- 1st Purchase: Customer pays $50 -> Gets $60 total credit.
- 2nd Purchase: Customer pays $50 -> Gets $55 total credit.
- This strategy attracts new users with a high bonus while maintaining a sustainable margin for regulars.
Click OK to save your changes.
Terms & Conditions
Switch to the Terms & Conditions tab inside the pop-up.
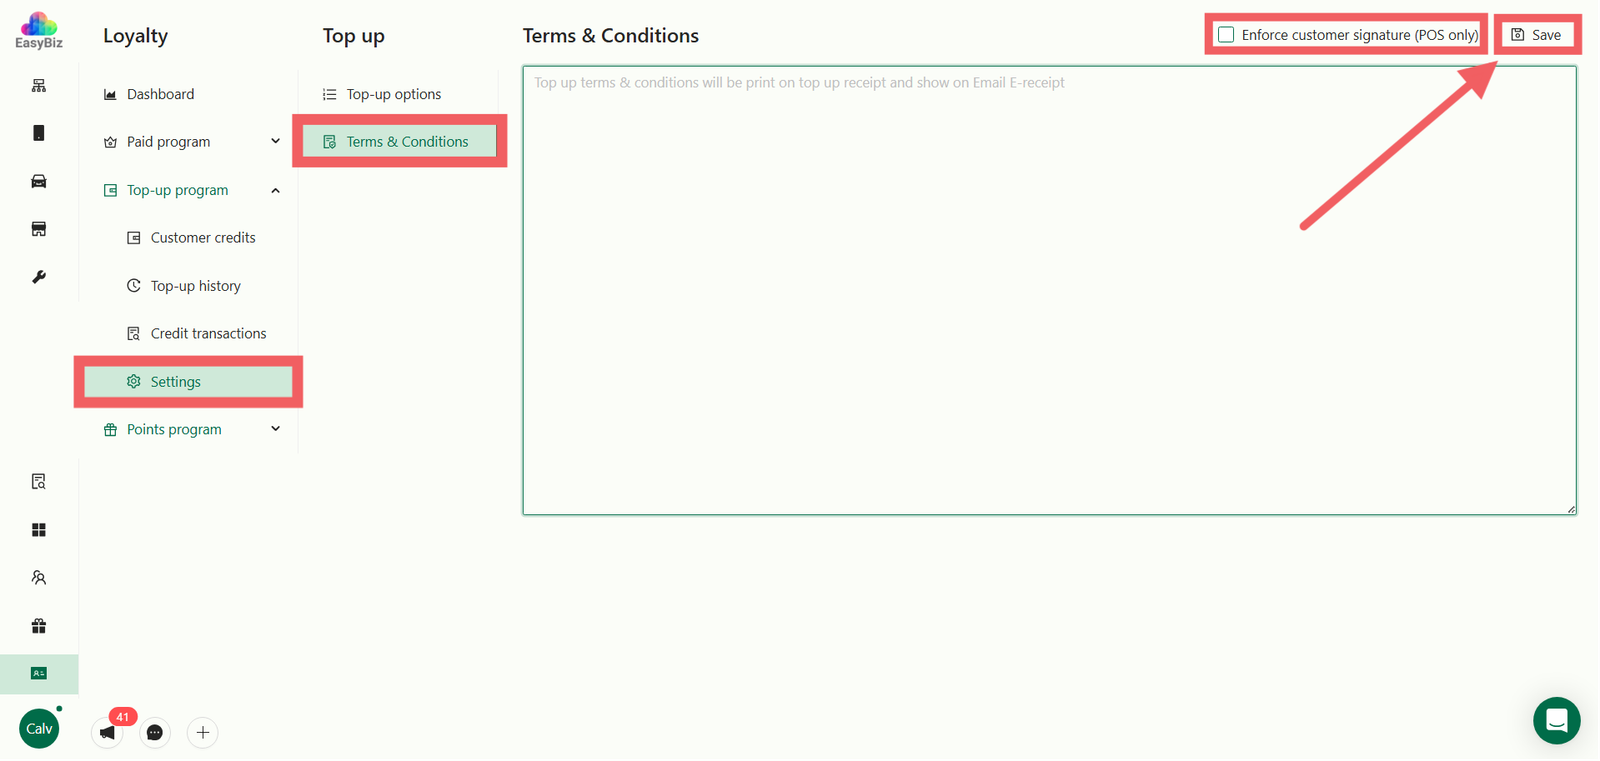
- T&C Text: Enter the rules for this credit (e.g., "Non-refundable", "Valid for 1 year"). This text will be printed on the Top-up Receipt and sent via email.
- Enforce customer signature (POS only): Check this box if you require the customer to physically sign on the POS screen when purchasing this credit.
Click Save to finish.
Managing Customer Credits
To view the current status of your customers' wallets:
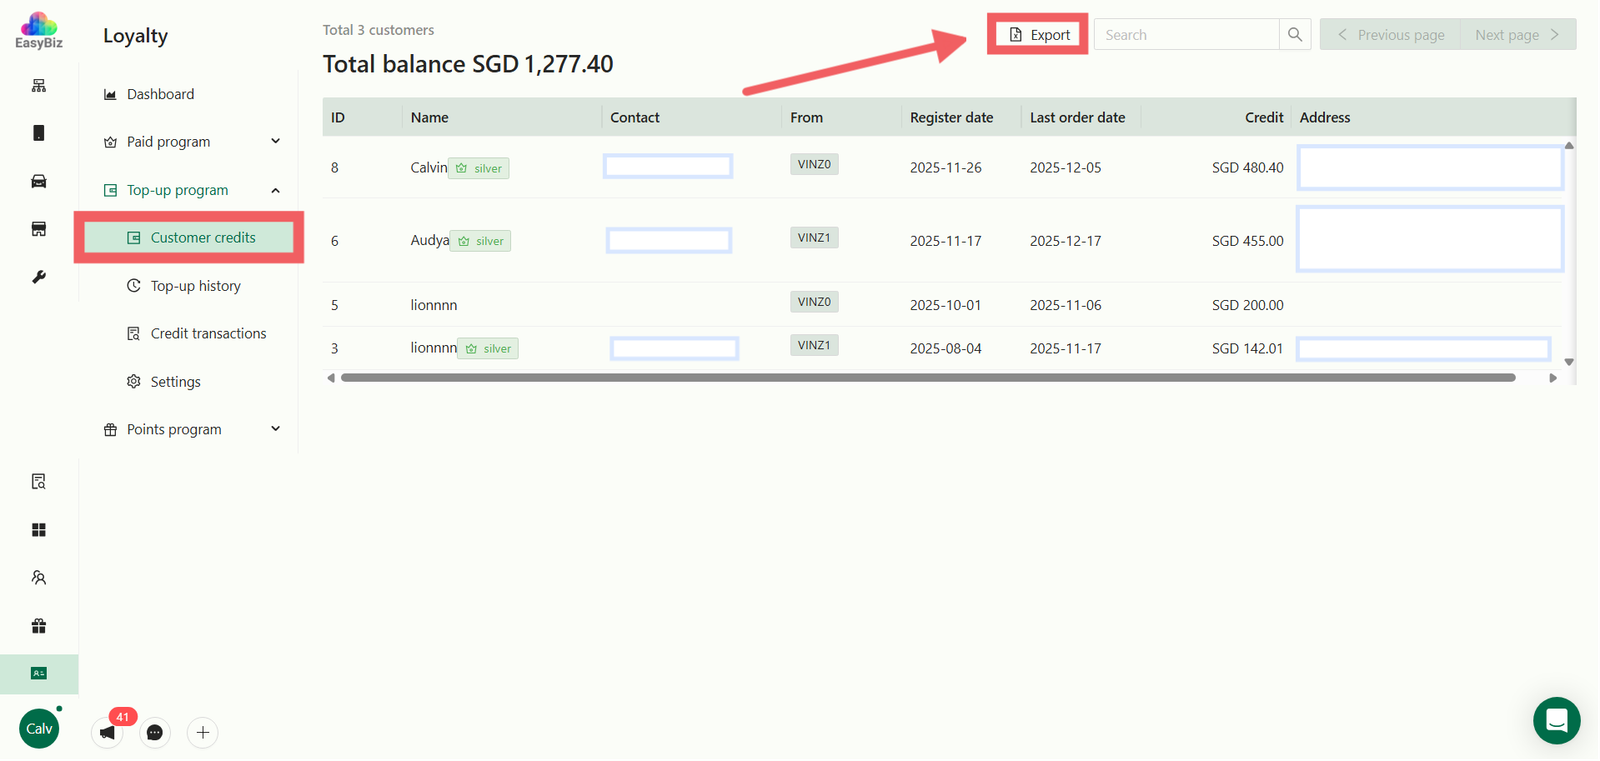
- Go to the Customer Credits menu on the left.
- This view shows:
- Contact/From: The customer name and the Store/App they registered from.
- Register & Last Order Date: Helps identify active users.
- Credit: The customer's current available balance.
- Export: Click Export to download the data. You can filter by:
- Store / App Source.
- Register Date (Start & End).
- Last Order Date.
Understanding Transaction Reports
There are two different logs for tracking credits. It is crucial to understand the difference to answer customer inquiries correctly.
A. Top-up History (The "Sales" Log)
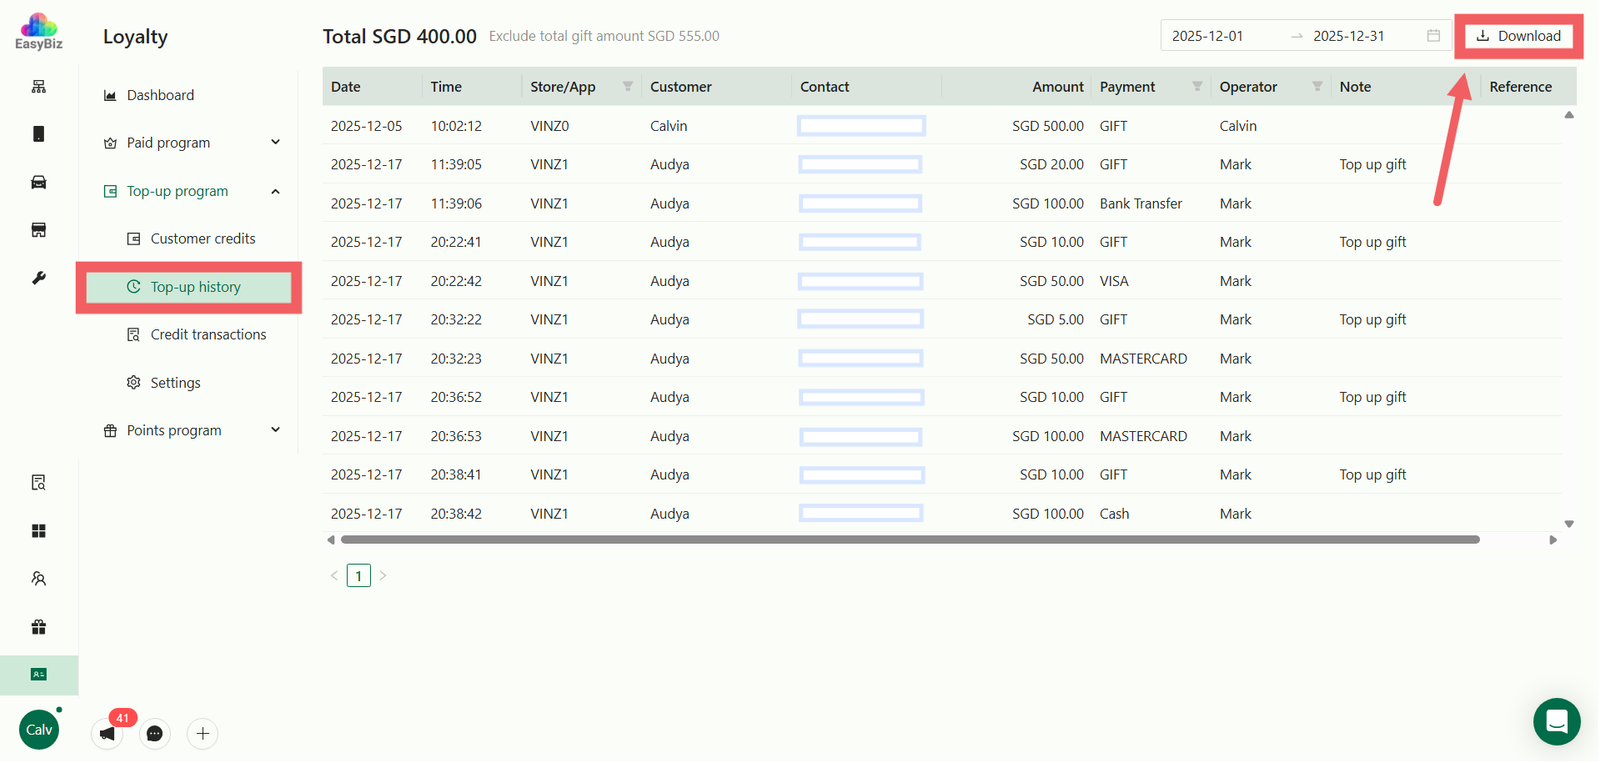
Navigate here to see money coming in from credit sales.
- Purpose: Tracks every time a customer purchases a top-up package. It does not show when they use the credit.
- Key Data Columns:
- Amount: The actual money paid by the customer.
- Payment: The method used (e.g., Cash, Visa, PayNow).
- Reference: Transaction ID for reconciliation.
- Use Case: Use this report to reconcile your daily sales or check how much cash was collected specifically from selling top-up packages.
B. Credit Transactions (The "Ledger" Log)
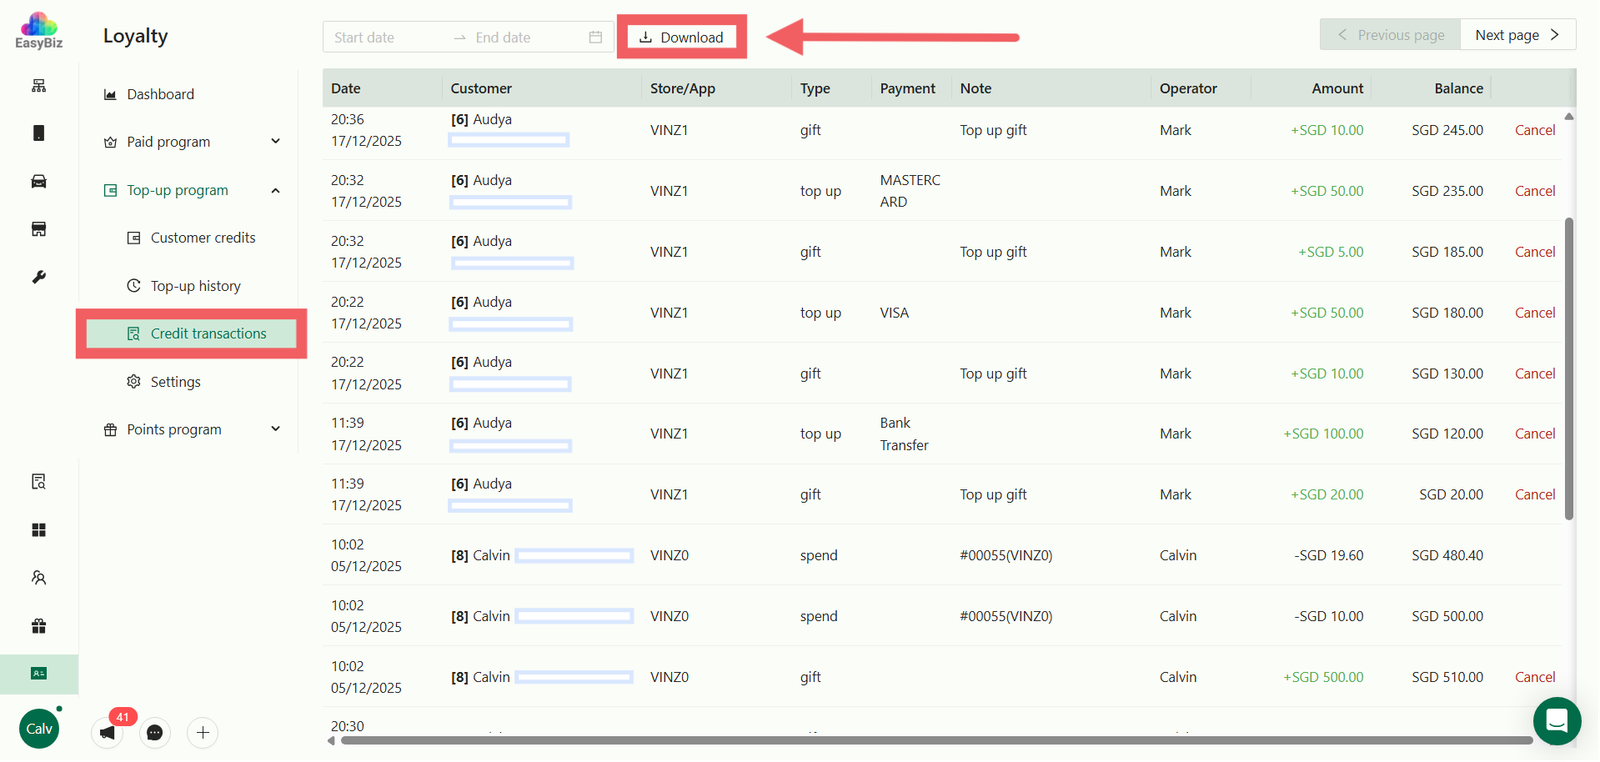
Navigate here to see the full flow of money moving IN and OUT.
- Purpose: A complete statement of account that tracks every change to a customer's wallet.
- Key Data Columns:
- Type: Identifies the nature of the transaction. Common types include:
- Top Up: Customer purchased credit.
- Gift: Bonus credit given by the system (e.g., First-time bonus).
- Spend: Customer used credit to pay for an order (deduction).
- Amount: The value added or deducted in that specific transaction.
- Balance: The customer's remaining credit immediately after that transaction.
- Type: Identifies the nature of the transaction. Common types include:
- Use Case: Use this to investigate customer balance issues (e.g., "Why is my balance only $5?"). You can trace exactly when they Spent their credits or when they received a Gift bonus.
Processing Top-Ups on POS
Once your packages are saved, your staff can immediately sell top-ups directly from the POS screen.
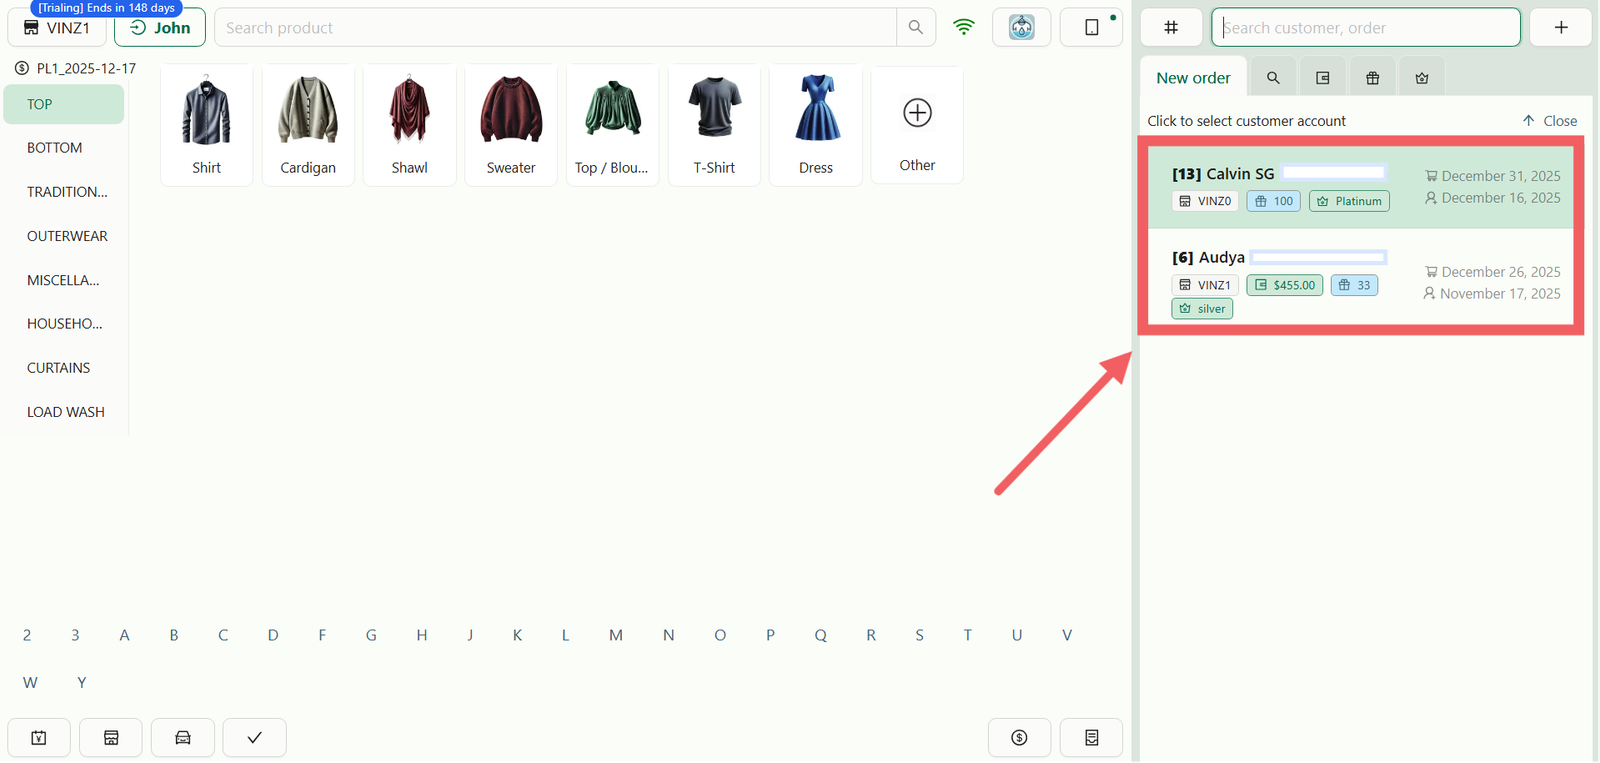
- Select Customer: Search and add the customer to the order.

2. Open Wallet: Click on the Credit Icon (Wallet symbol) next to the customer's profile.
3. Select Package: A pop-up will display the options you configured earlier. Tap on a package (e.g., "Top Up $50") to proceed to payment.
Additional POS Features: Inside this same pop-up window, you have two other useful tools:
- Check History: Click Credit History at the top right to view this specific customer's usage log immediately.
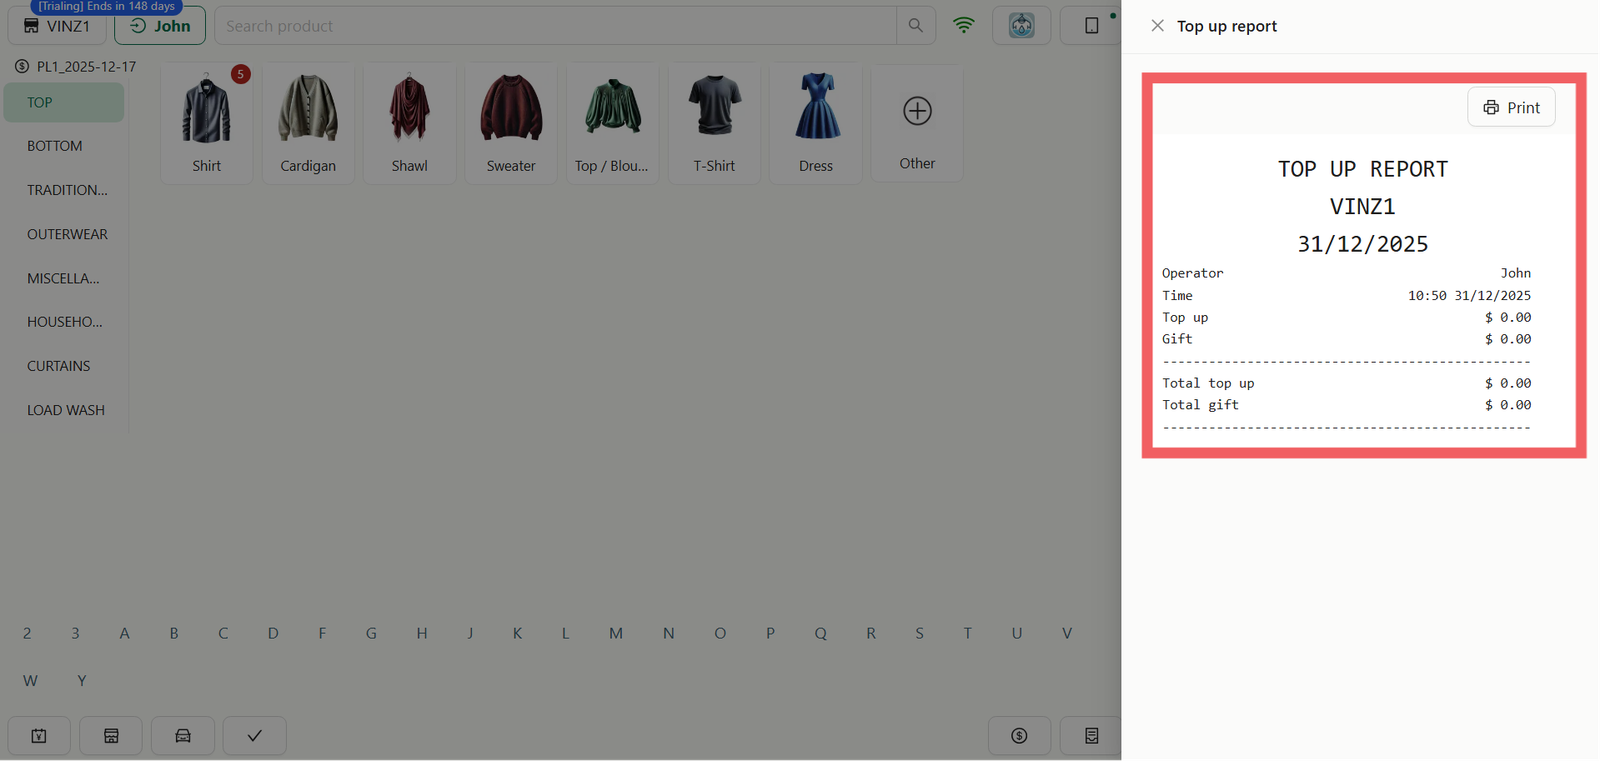
- Staff Handover: Click Print at the bottom Top Up Report to generate a physical receipt summarizing all top-up sales performed on this register for the day.
Give feedback
Up next
Setting Up Points ProgramMake every dollar count. Configure a simple 'spend-and-earn' system where customers accumulate points to redeem for rewards, gamifying their experience.
Read more