Setup Job Table
In this article
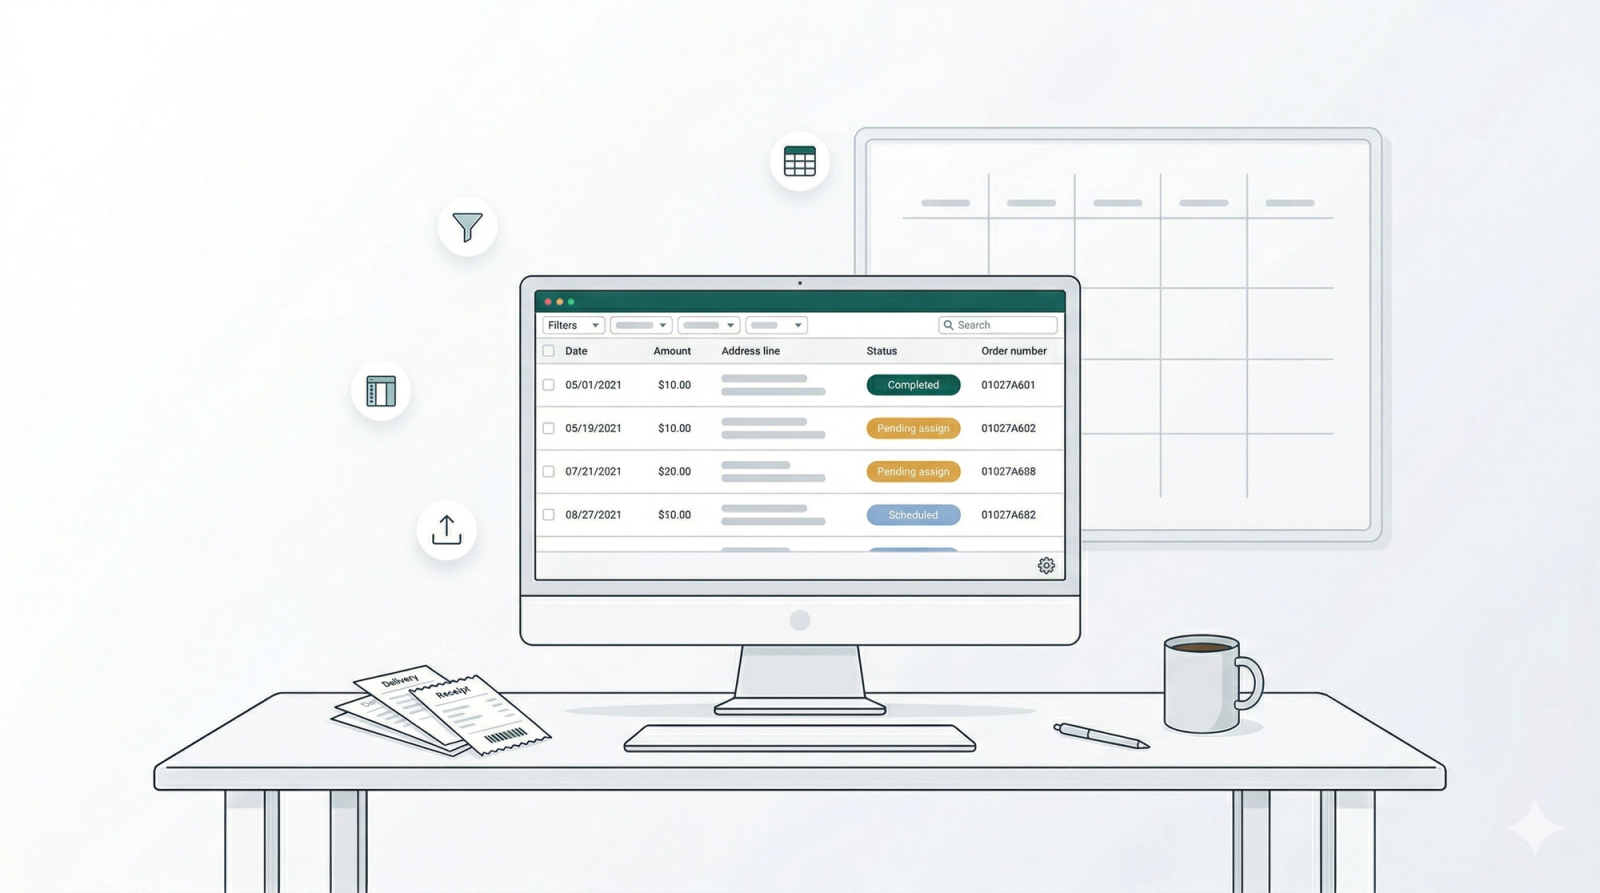
The Job Table is the central hub for managing your laundry pickups and deliveries. It gives you a real-time, bird's-eye view of every task on your docket.
Contents
Contents
Use this job table to:
- Track workflow: See the exact status of every job, from "Pending assign" to "Completed".
- Monitor payments: Quickly spot outstanding balances due on delivery (highlighted in red).
- Take action: Assign drivers to new jobs or update the status of ongoing ones right from this list.
Understanding the Job Table Columns

The columns in your Job Table act as your operational dashboard. They provide a real-time, bird's-eye view of every task on your docket.
Customizable Column Options
For this Job Table, you can customize the columns to fit your specific workflow. You don't need to see everything at once—just select the data that matters most to you.
📍 Where to find this: Scroll down to the very bottom of the page and click the Page Settings button to reveal these options.
Here are the column options available:
1.Job Date: The specific calendar date scheduled for the task.
2.Job Time: The scheduled time slot for the pickup or delivery.
3.Job Formatted Address: The full, complete address shown as a single line for easy reading.
4.Job Address Line 1: The primary address details, such as the street number and name.
5.Job Address Line 2: Additional address details, such as apartment, suite, or unit number.
6.Job Address District: The specific district, neighborhood, or region of the location.
7.Job Address Postcode: The postal code or ZIP code for the job location.

8.Job Address Street: The specific street name where the job is taking place.
9.Job Address Building: The name or number of the building (e.g., "Building A" or "The Heights").
10.Job Type: The category of task to be performed (e.g., "Pickup," "Delivery," or "Service").
11.Job Worker: The specific driver or technician currently assigned to this task.
12.Job Service Options: Specific service preferences or add-ons selected for this job.
13.Job Note: Any special instructions, warnings, or comments attached to the job.
14.Job Photos: Visual attachments, such as proof of delivery or photos of item condition.

15.Job Status: The current progress of the task (e.g., "Pending assign," "Scheduled," or "Completed").
16.Order No: The unique identification number linking this job to a specific customer order.
17.Sales Channel Name: The platform where the order originated (e.g., "Online Store," "POS," or "Partner App").
18.Sales Channel Code: The internal short-code identifying the sales source.
19.Order Amount due: The outstanding balance. If unpaid, this usually appears in red.
20.Customer Name: The full name of the client requesting the service.
21.Customer Phone Number: The primary contact number for the customer.

22.Date: A general date field, often used to record specific deadlines, expiry dates, or follow-ups outside of the main Job Date.
23.Equipment ID: The unique ID of any specific machinery or equipment involved in the job.
24.Gate/Access Code: Security codes or instructions needed to enter the property.
25.Item Condition: A description of the item's state (e.g., "Good," "Damaged," "Stained").
26.Preferred Service Window: The specific time range requested by the customer for the visit.
27.Required Tools/Parts: A checklist of specific items the worker needs to bring to complete the job.
28.Site Image: A reference photo of the location or worksite.
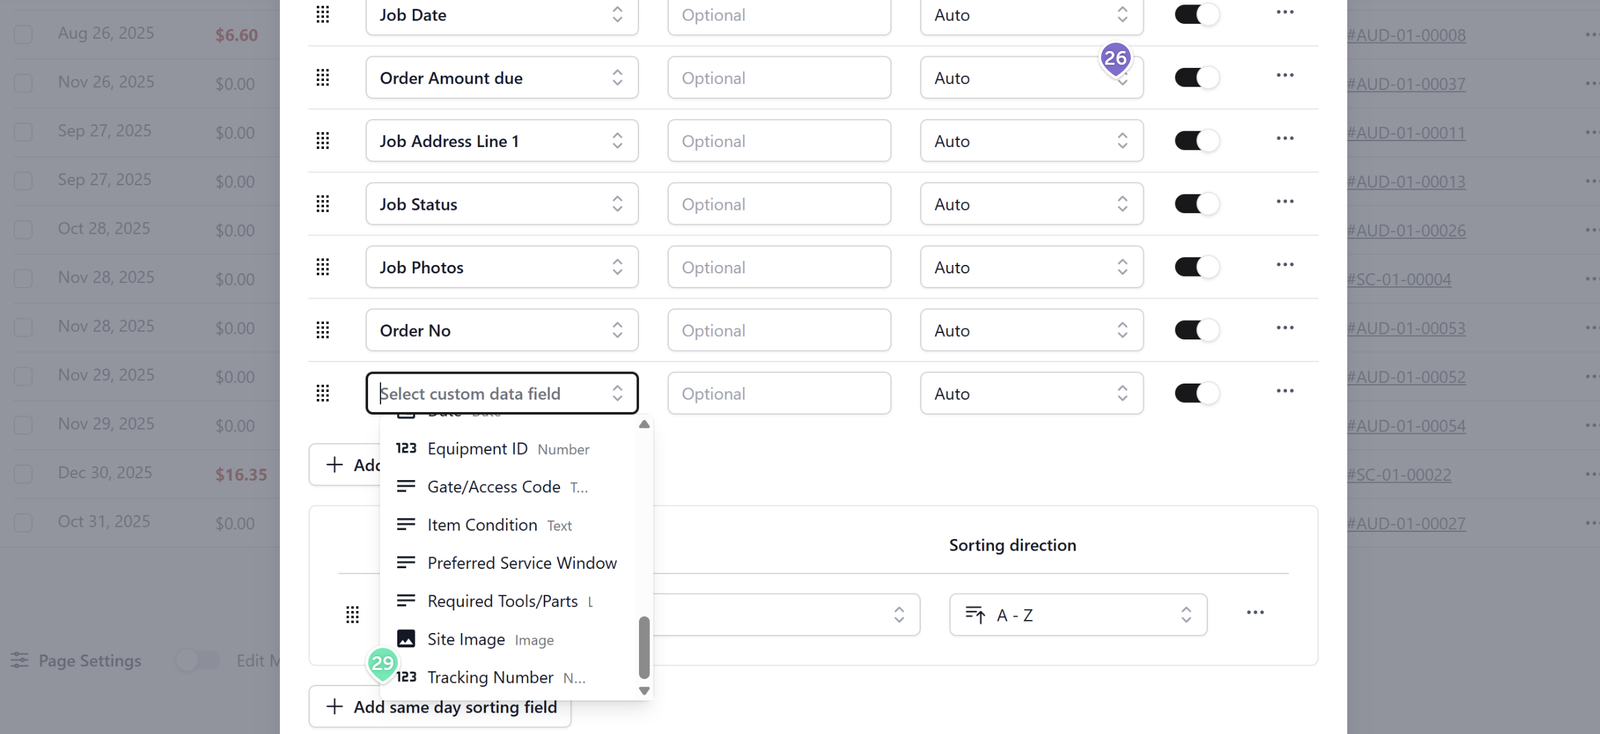
29.Tracking Number: The reference code used to track the shipment or service item externally.
Guide to Adding a Job
Note: The customer contact name (e.g., "Sophia") and job address shown in this video guide are fictitious examples used solely for demonstration purposes.
- Click the Add Job button.
- Link to your sales order and select the customer contact.
- Ensure the generated job address is correct.
- Select the job type, assign a worker, and schedule the date and time.
- (Optional) Add job notes or photos. The new job will now appear in the job table.
Adjusting Pickup Dates and Updating Statuses
- To adjust dates: Click on the specific date of an order to adjust it to a new date and time.
- To update status: Click on the current status label and change it to your desired status.
- Remember to click Update Jobs to finish.
Exporting Job Data
- Click the Export button located on the edge of the page.
- An Excel file will automatically download.
- Open the file in your Excel app to view the data.
Guide to Configuring Job Table Displays
Note: Use these settings to customize the job table's column format to best suit your specific workflow needs.
- Go to the Page Settings found at the bottom of the page.
- Adjust column content, headers, width, order, and display preferences as desired.
- You can also adjust the sorting arrangement.
- Don't forget to Save your changes at the end.
How to Use Job Table Filters
- Go to the filter section at the top of the page.
- Set filters for the job table based on date, assignee, or status.
- Alternatively, use the search bar to search for a specific customer name.
Feature Spotlight: Order Number
And remember, that’s just one example. Don't hesitate to explore the other available feature columns—like the Order Number, many of them are packed with powerful functionalities designed to streamline your operations.
Give feedback
Up next
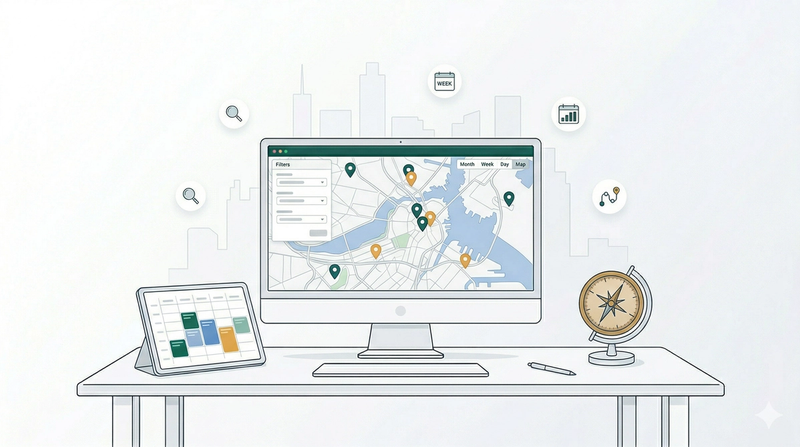
Setup Job MapVisualize your operations with true geographic perspective. Plot every scheduled task onto a map to instantly optimize smart routing, spot scheduling overloads in specific areas, and pinpoint exactly where pending versus completed jobs are across the city.
Read more